

A complete hiking guide to the Quilotoa Lake Trail | Travel Blog
Quilotoa Loop Overview
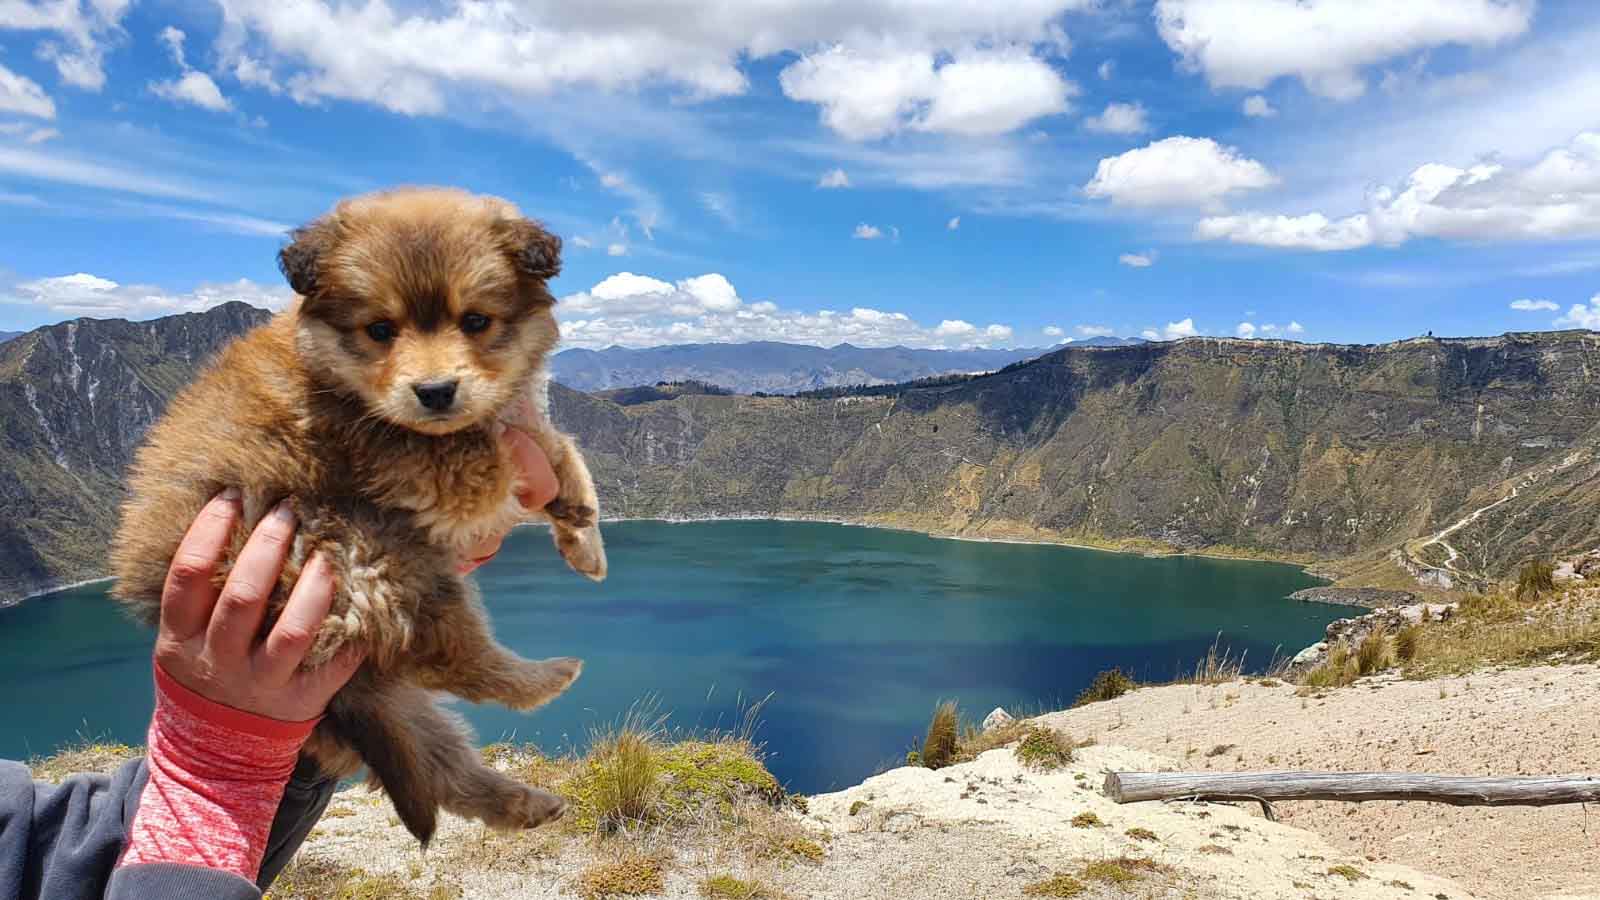
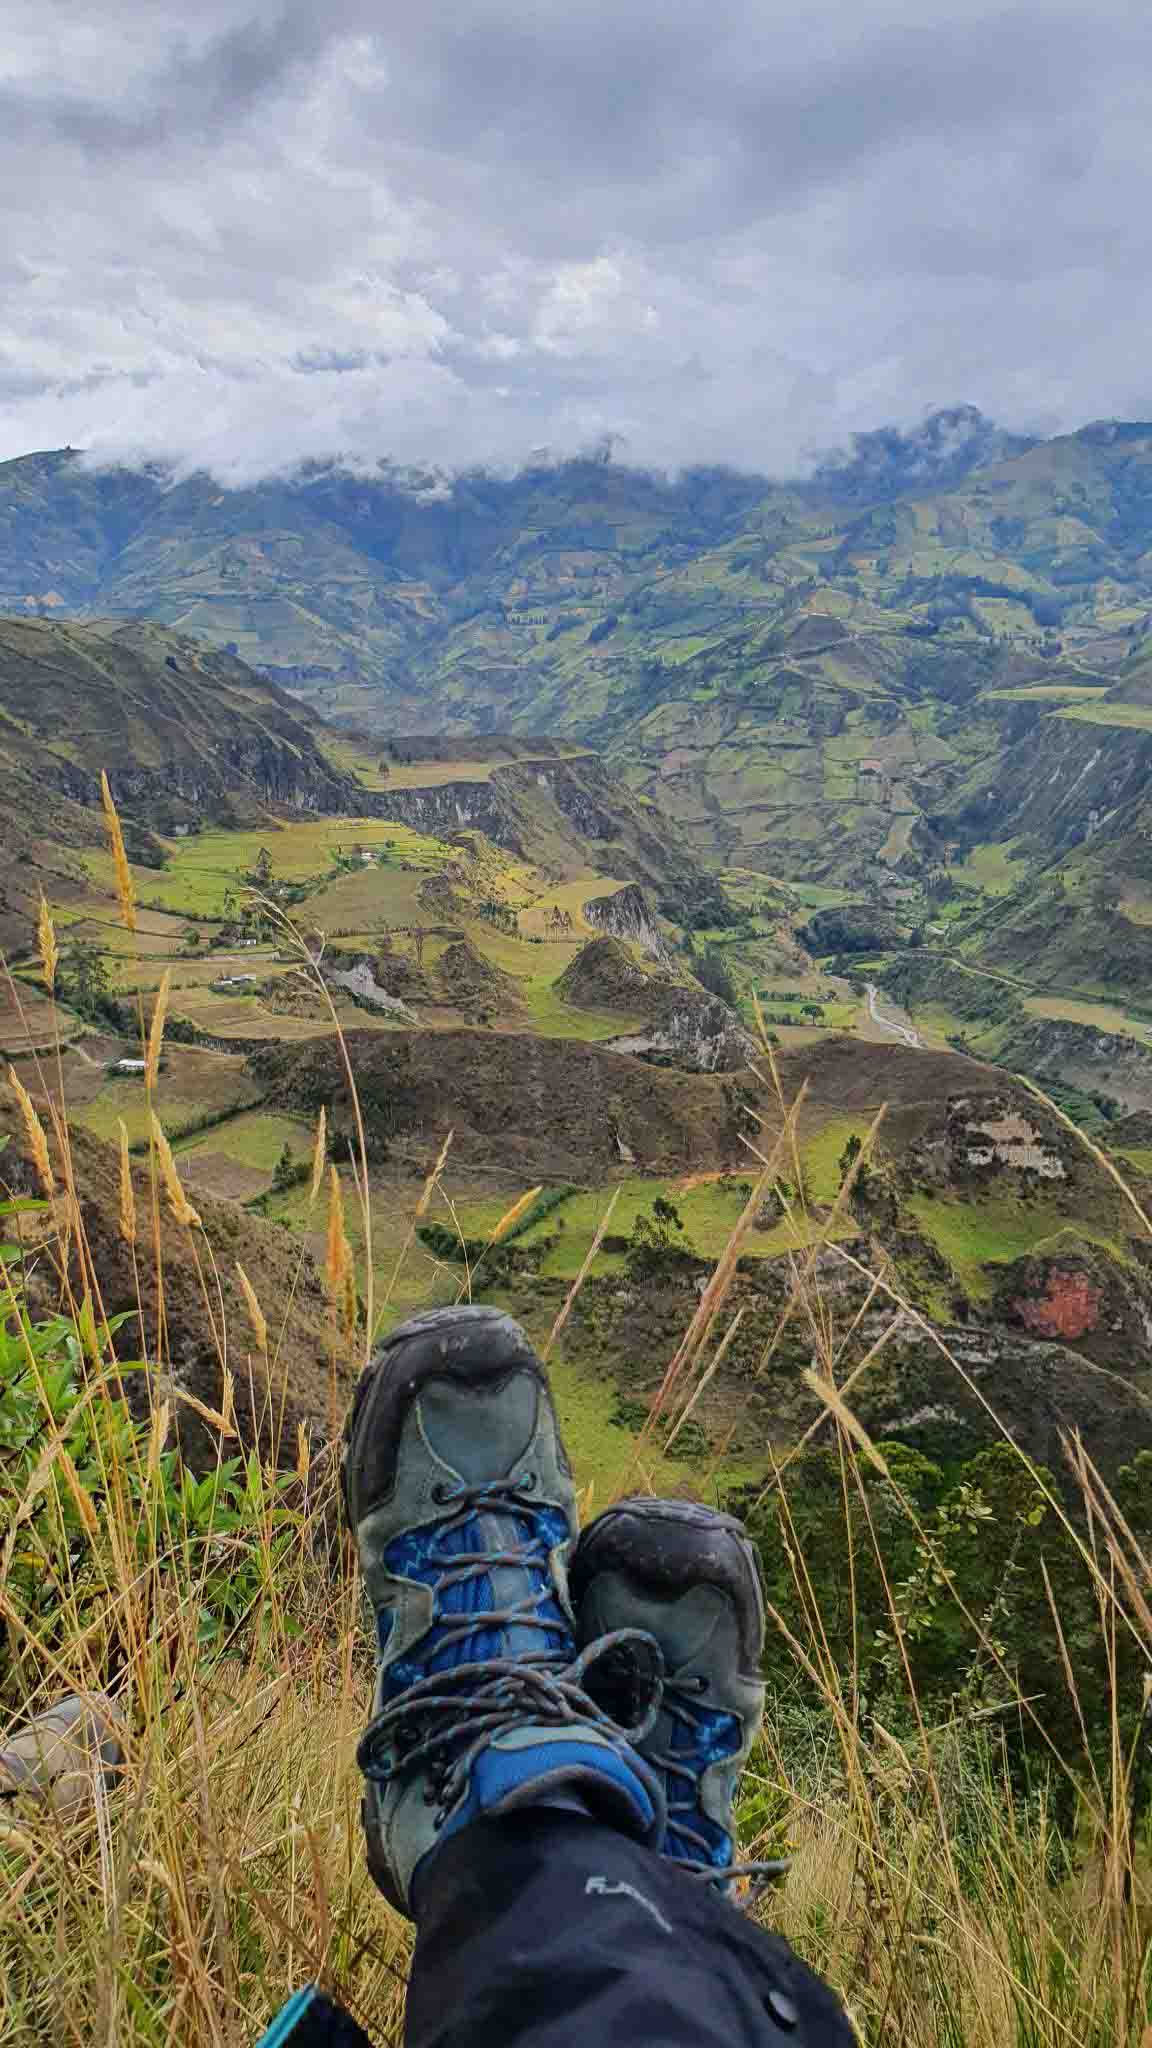
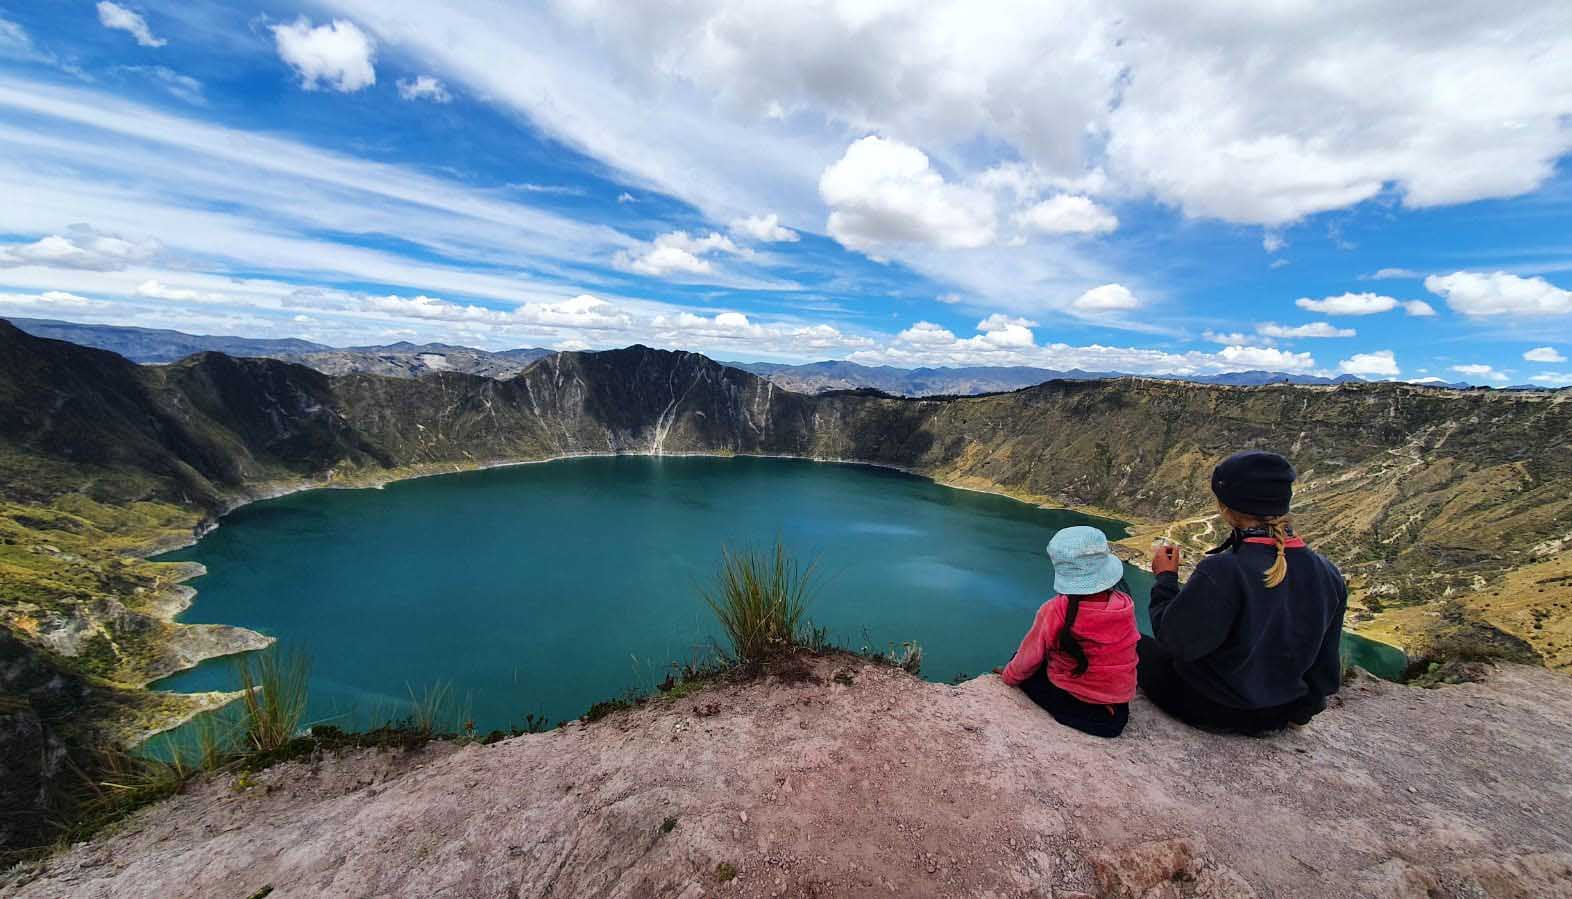
The Quilotoa lake is a 240m deep mass of water with the most unbelievable shade of green, filling up a crater left by a volcanic eruption that took place 800 years ago. It’s home to a picturesque indigenous village carrying the same name and settled at the edge of the high crater’s wall. While it is possible to visit the lake by bus and to enjoy the surrounding from one of the popular viewpoints, I strongly recommend that, given you have time, you do the whole hike instead. Only that way you’ll be able to soak in all the magic offered by the high Andes of Ecuador and its quaint villages where the air is thinner the llamas reign, and the people are lost in time.
The Quilotoa Loop is the name of the trail that starts at the village of Sigchos nested at the height of 2849m all the way to Zumbahua (3508m), a village just past the lake. However, most of the people (me included) decides to stop the journey at the Quilotoa lake, which is without a doubt the main attraction of the hike. This popular section is 35km long and takes approximately 3 days.
The Quilotoa hike breakdown looks like this:
Day 1: Sigchos (2849m) to Isinlivi (2870m) - 11km - 3 to 5 hours
Day 2: Isinlivi (2870m) to Chugchilan (3200m)- 12.4 km - 6 - 8 hours
Day 3: Chugchilan (3200m) to Quilotoa (3914m) - 12 km - 7 - 9 hours
Day 4: Quilotoa (3914m) to Zumbahua (3508m) - 12km - 3 to 4 hours
If you are a fit hiker and you’re short on time you can squeeze the first two parts of the hike in just one day. Alternatively, you can take a bus straight to Isinlivi instead of Sigchos and skip the 1st day altogether.
You can also do the whole hike in reverse starting at the Quilotoa lake and making your way down to Sigchos. Both options have their pros and cons. Climbing the traditional way will save the view of the Quilotoa Lake till the very end, making it a cherry on top of an amazing hike. You will also have time to adjust your body to the altitude so that you don’t get sick (yes, altitude sickness is NOT a myth, some people get it real bad). On the other hand, it is slightly less challenging to do the route in the opposite direction, cause there’ll be more downward walking that way. Don’t be fooled though - there’s still a fair share of climbing since you’ll have to go all the way down the mountain to cross a river and then climb up on the other side more than once.
Flexibility is one of the best things about this hike - you can start wherever you want and do the part that suits best your abilities and the time available. I love hiking and enjoying my time in the mountains, so I picked the traditional route from Sigchos to Quilotoa and spent 5 days on the loop overall, spending some time at each village. This article will describe the route as I took it with my friend, but you can just follow it “in reverse” if you decide to take the alternative way.
Things to know before the start the Quilotoa hike:
- Although you can do this hike without a guide (but we recommend you go with a tour company). You can do it on your own easily enough and even if (or rather “when”) you get lost, it’s just another adventure for your travel diary! You’ll be given a map, usually hand-drawn, and tons of detailed instructions at each hostel so you might even make it through without any problems. We found ourselves lost more often than not, partially because we did the hike just after the pandemic and half of the signs were gone and partially on our own fault for wanting to find the most “adventurous” way.
- It’s not expensive to do the Quilotoa Loop (if you are willing to rough it out). Each village on your way will have a hostel that offers 15$/night accommodation with a big breakfast and dinner included. I spent around 125$ overall: 4 nights at the hostels (60$), a horseback riding trip in Chugchilan (20$), bus tickets (6.50$), souvenirs (20$), a local cheese (8$) and a bottle of a traditional Mortiño wine, which I VERY recommend (10$).
- There are no ATMs on the road so take enough cash with you. At least 15$ for every night you plan to spend on the hike, the bus money (around 2-5$ for each passage) plus something additional if you want to do any attractions / buy a glass of wine, souvenirs, etc.
- You don’t need to bring tons of food with you. The meals offered at the hostels are hearty Ecuadorian-style sizes. You can also buy a lunch box for an additional 3$, but we just packed the leftovers from huge breakfasts every day and it was more than enough to last us till the equally huge dinner served at 5 pm. Obviously, if you like to snack bring your favorites with you, cause there are no supermarkets on the trail.
- Be mindful of your surrounding. I know that indigenous villages and people are beautiful and you’ll want to take a photo of everything and everybody on your way, but try to stop yourself. They are people just like us trying to go about their normal day. They don’t want you pointing your cameras at their houses. Some might get offended or ask you for money if you do (I was asked for 2$ when I took a photo of a donkey). Also, remember to always take your trash with you!
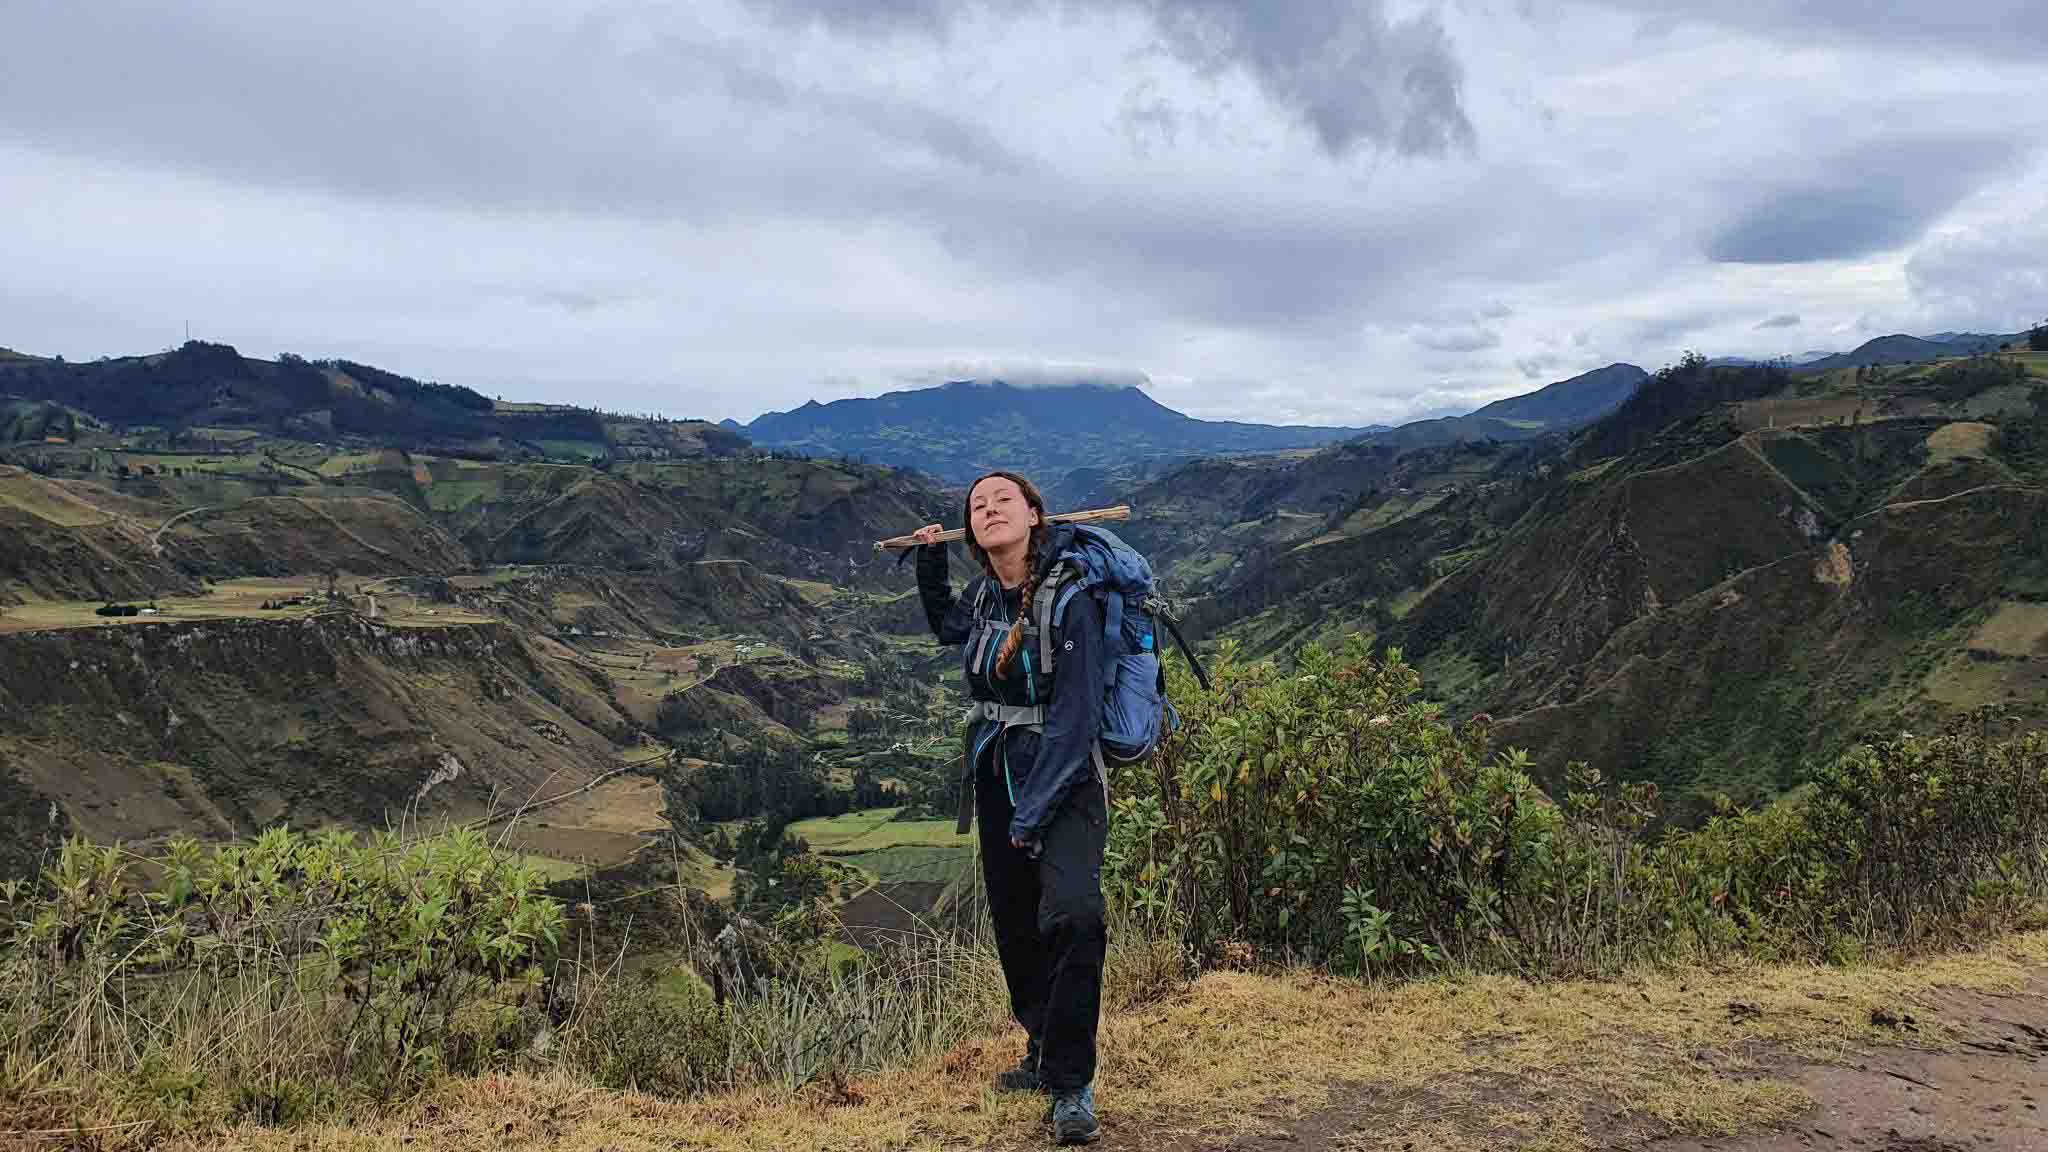
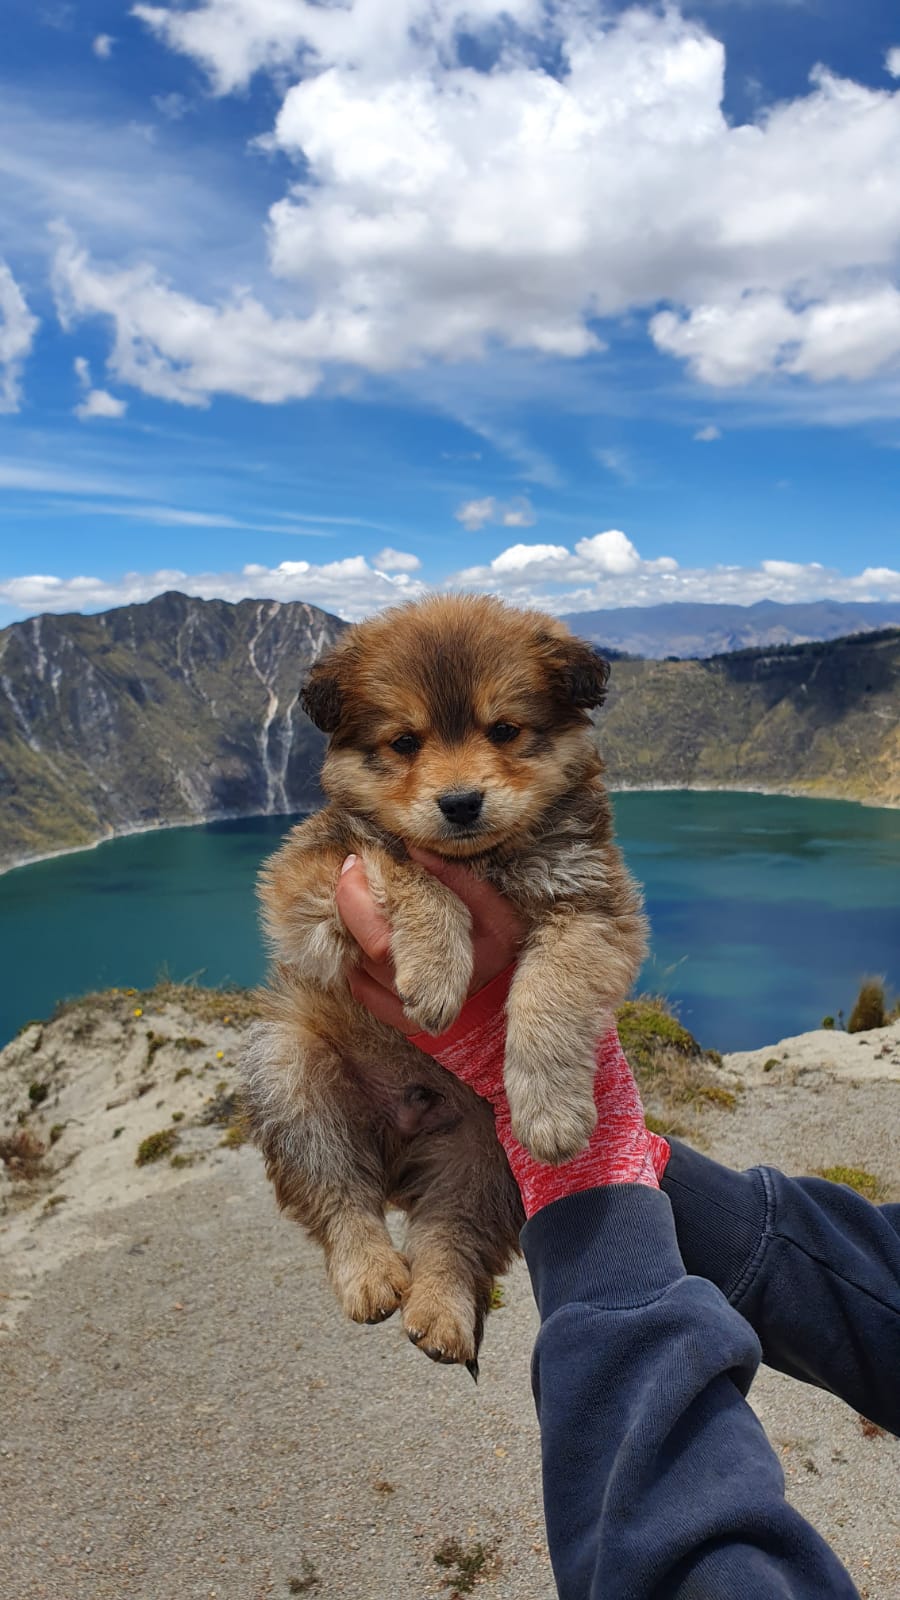
- Beware of the dogs. There are at least a few dogs at each cottage you’ll be passing by and they get very territorial. They’ll come at you barking and growling like crazy so it’s best to walk with a stick to scare them away. I’m not saying you should hit them of course! Just lift your hand, stomp your feet and keep walking, they’ll chill out as soon as you’re past their turf.
- The weather in the Andes gets crazy. Remember you’ll not only be in the high mountains but also in close proximity to the equator. Sunscreen, a hat, good, waterproof hiking shoes, and a waterproof jacket are a must. Wear layers, cause you’ll find yourself taking them off and putting them on again all the time.
- Don’t get caught by night. It’s neither nice nor safe to hike in the darkness so try to get to your hostel by 6 pm. Think of your usual pace, adjust for the possibility of getting lost then add an extra hour for the photos and try to start the hike accordingly. In case of any mishap pack a head lantern.
- Carry a lot of water. There’ll be rivers where you can refill the bottle from time to time but not that often so take plenty.
- Download an offline map like maps.me and charge your phone every day before the hike. Carry a paper map with you as well. There isn’t always a chance to ask for directions - the locals are quite elusive and some of them speak only Quechua. As to the fellow hikers you can get lucky to bump into some, although in our specific post-pandemic case we were completely alone on the trail the whole time.
- Prepare for the altitude change. Try to spend a few days in Quito or Latacunga before the hike to give your body a chance to adjust to the height. You can also carry some coca leaves with you. Personally, I didn’t need them, but they helped my friend get through the last part of the hike.
- Check the attractions offered at each village. There are some stunning hikes, mountain biking routes, horseback riding trails, and many more to explore on the way. If you have some time to spare don’t rush from one point to the other. A horseback riding trip we took in Chugchilan was one of the most beautiful things I ever did!
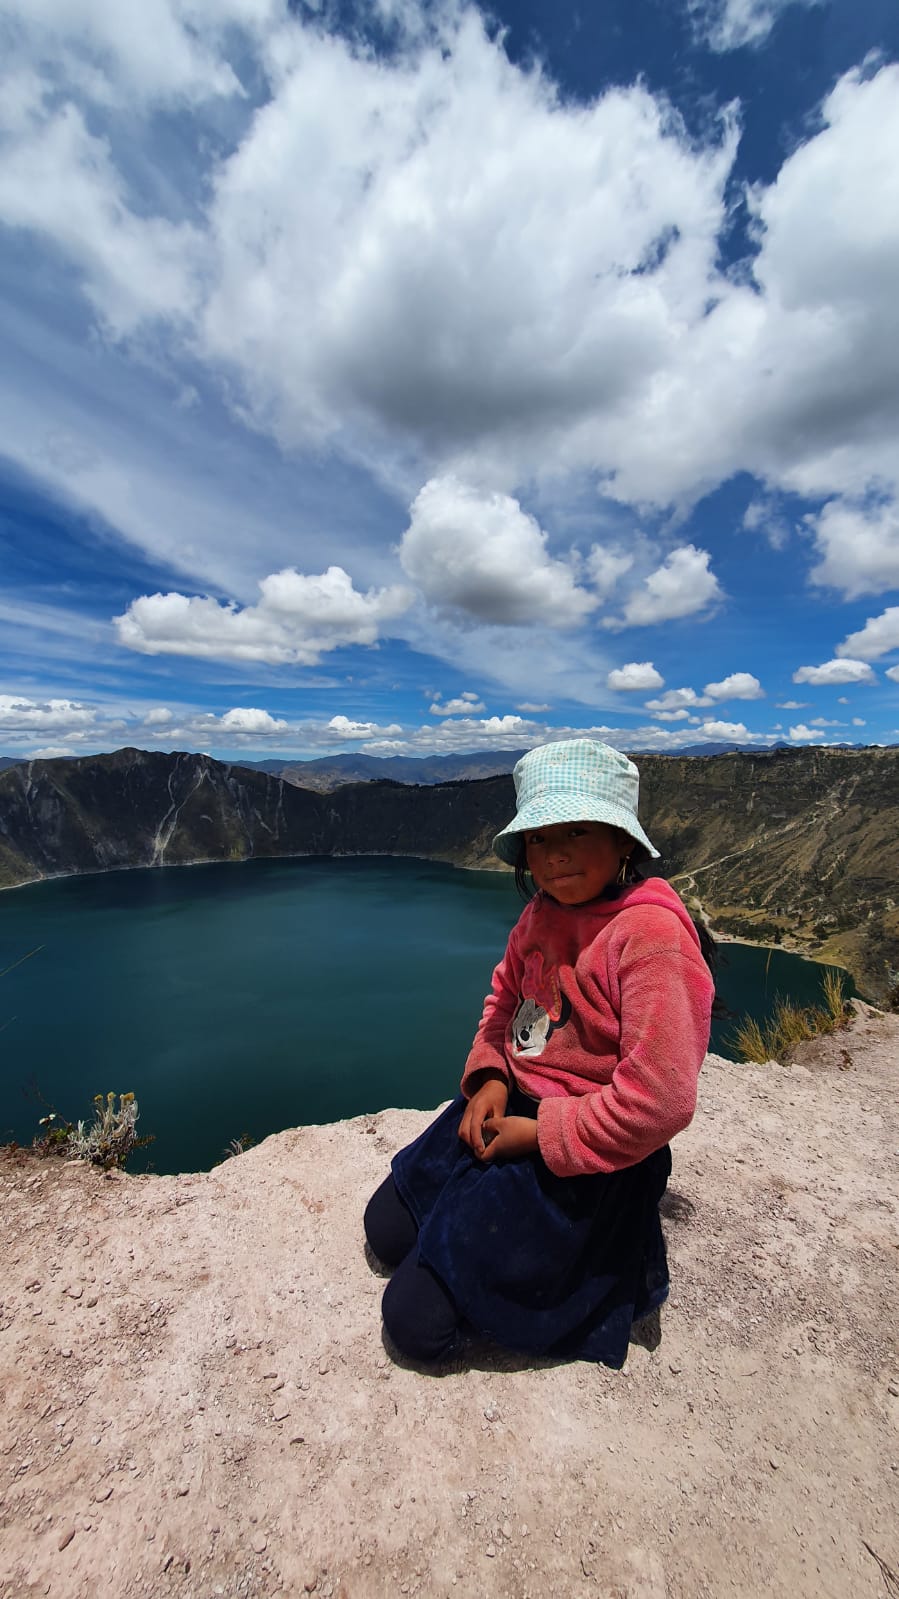
Tip: You can carry some sweets or toys for the local children, they’ll be very happy. Also, take some toilet paper with you. It’s always good to have some toilet paper.
The logistics
The hike is called a “loop” because you usually have to start it and end it in the city of Latacunga where you can catch a bus to the starting point (whichever one it’ll be in your case) and back. It’s also a perfect location to leave your luggage in. The Quilotoa loop is entirely doable for a beginner but it is quite a strenuous hike and you should only pack the essentials, leaving all the rest of your stuff behind. You can also arrange for the mules to carry your bags from one hostel to another, but it’s much more expensive. Plus we preferred to let the mules rest. :)
There are many hostels in Latacunga that offer to watch the baggage for the Quilotoa hikers. Some include it in the accommodation price if you plan to spend the night in Latacunga before you start the trail. That’s precisely what we did since we were hitchhiking and we got to the city quite late. We picked Hospedaje la Posada del Viajera and paid 10$ each for a simple bed in a shared room with the luggage option included. The owner is extremely nice and gave us a ton of useful advice about the hike, a map plus his personal number in case we get lost (which we obviously did).
While in Latacunga it’s good to make sure you have everything you need for the hike (see the section above) and to visit the bus station to make sure what time the bus leaves for our chosen destination. Don’t believe the schedules on the internet or even the ones given to you by the locals. Go to the station and ask about it the bus company that operates your route. As a Polish person, being used to the buses always arriving on time with schedules being exact to the minute, I was surprised to discover that in Ecuador public transport is rather based on chaos.
The First Day starting at Sigchos
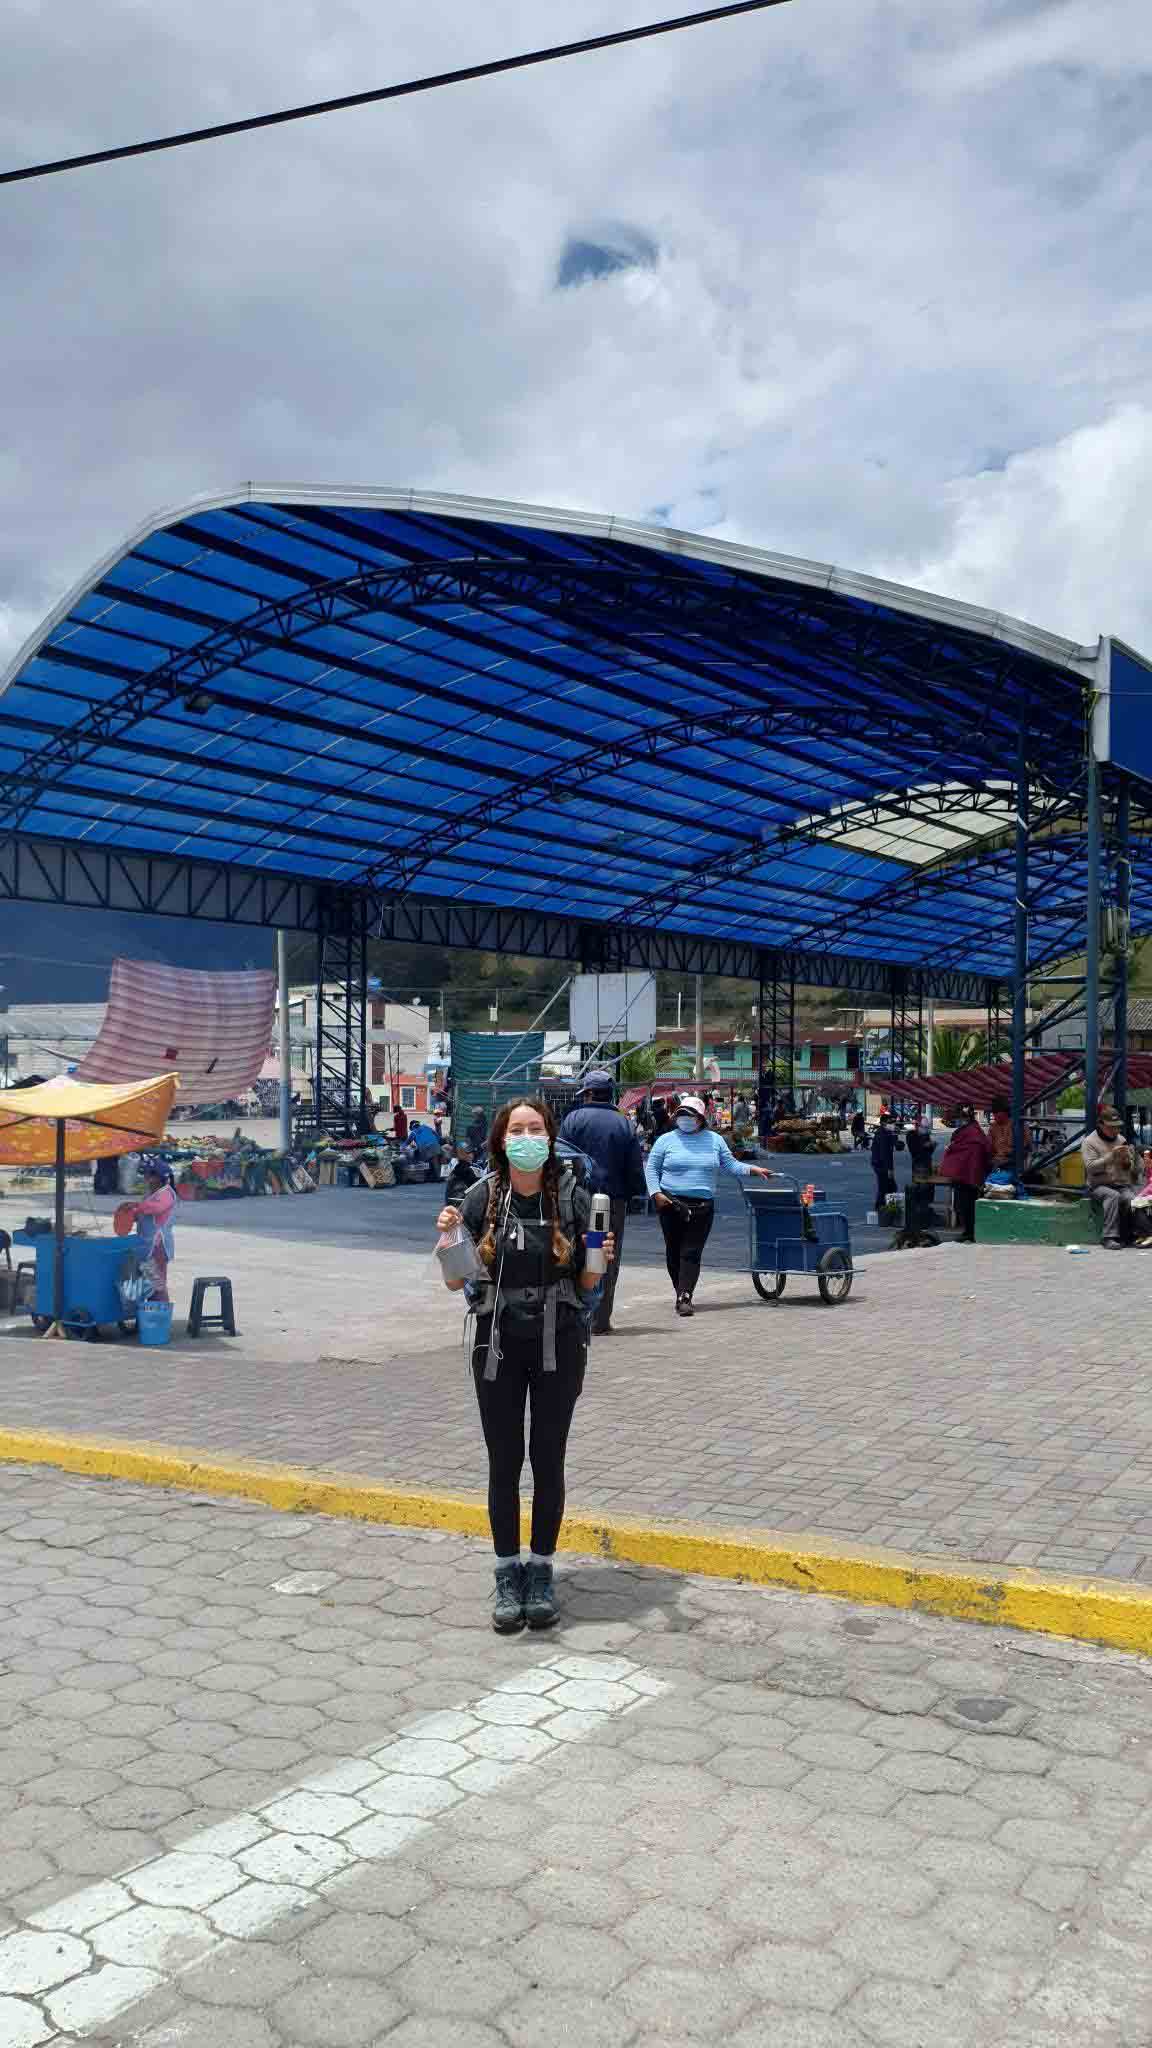
In our case, the earliest bus was at 9 am. It’s best to start the hike in the morning, even though the first day (Sigchos to Isinlivi) is the easiest part of the loop. It gives you time to visit Sigchos’ local market (the last stores you’ll see for the next few days) and get to the beautiful town of Isinlivi early enough to explore its local trails.
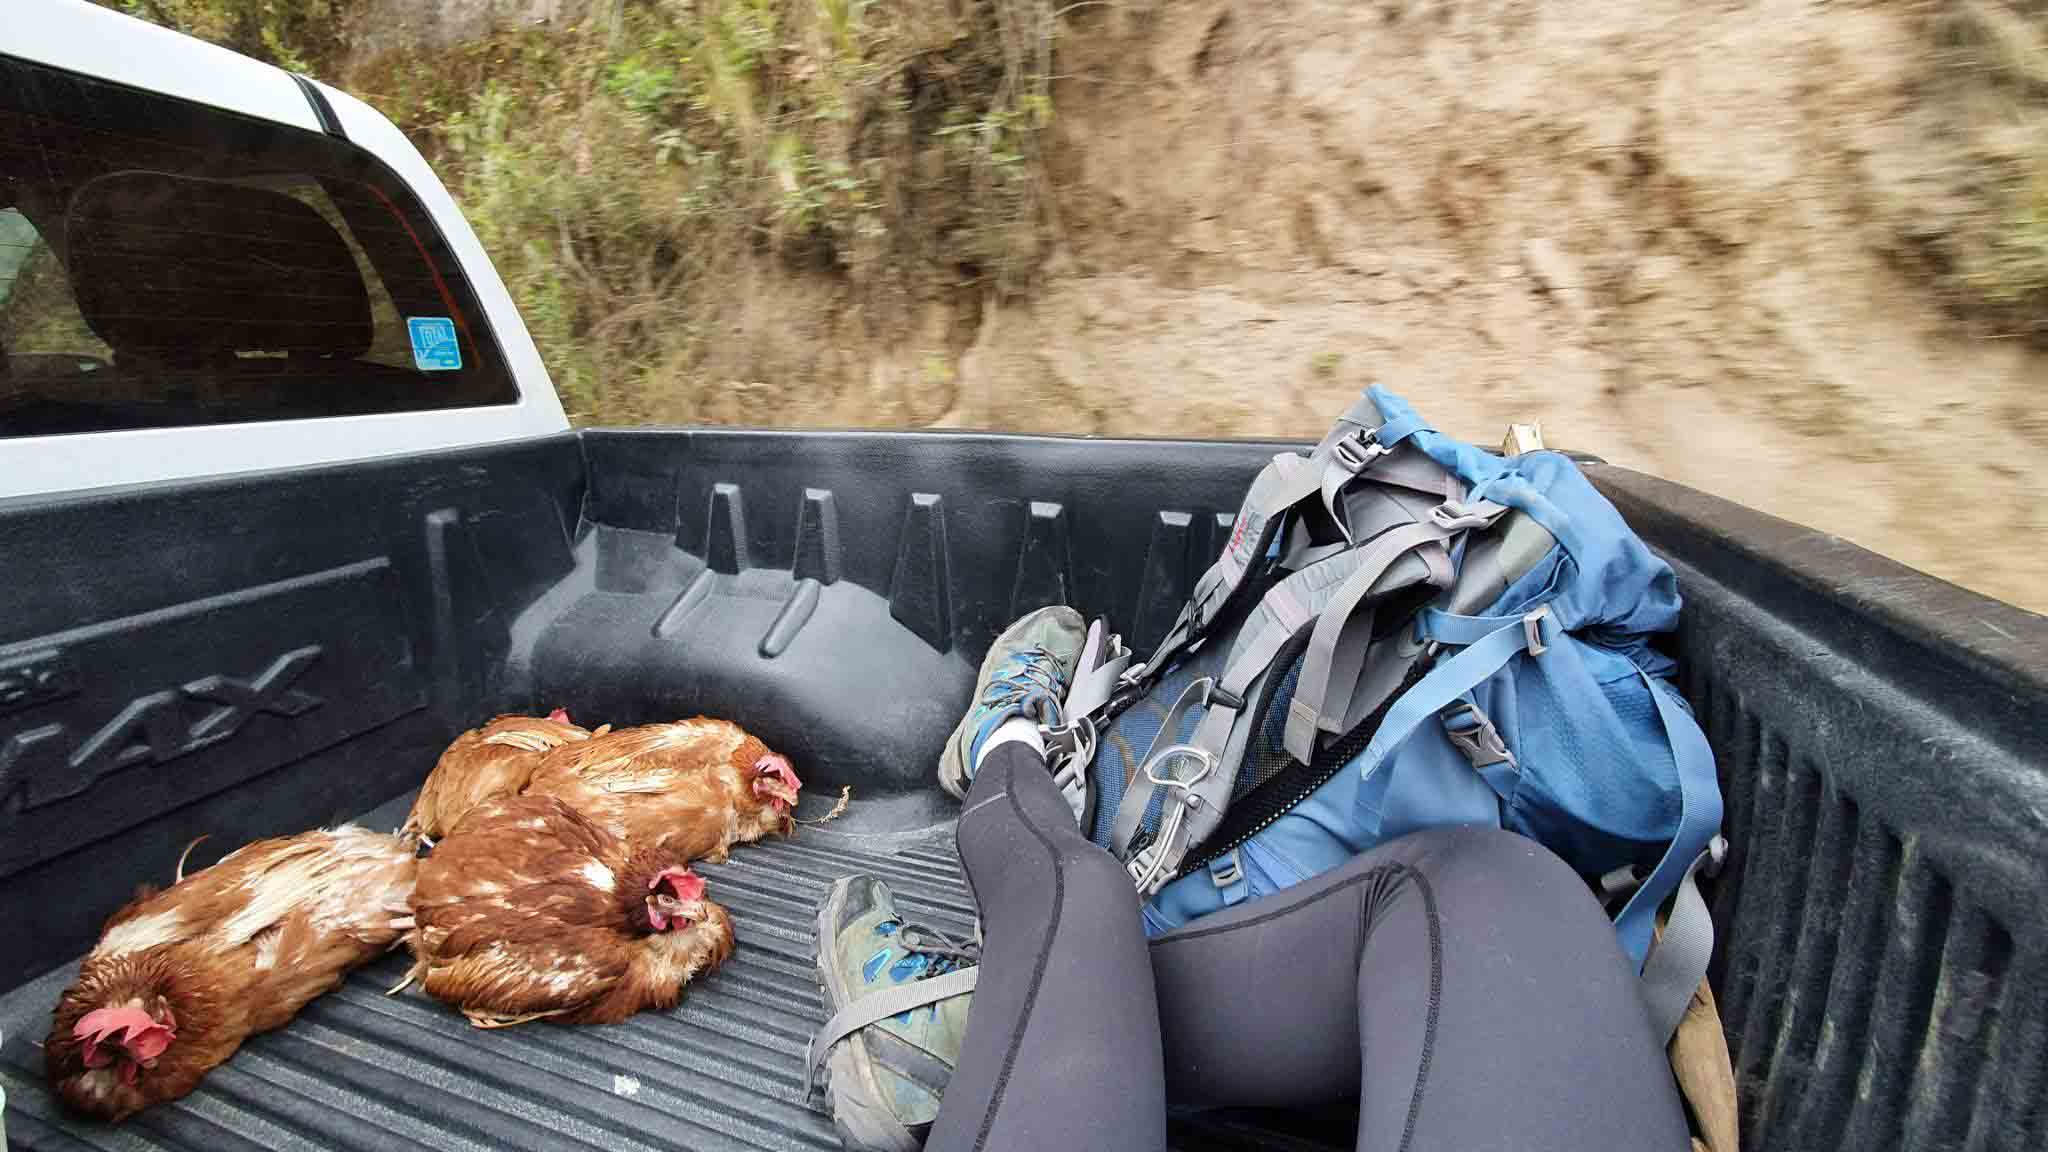
We walked around Sigchos for a few hours, checking out the market and searching for coffee. This proved to be a mistake - we stalled for too long and 1 hour into the hike it started raining. The first part of the trail leads along the road, so when the rain started really soaking us we decided to try our luck hitchhiking. We didn’t wait long before a pickup truck full of chickens stopped and gave us a lift. It cleared up during the ride so we were able to enjoy the views and dry off. We left the truck in high spirits, waved the chickens goodbye, and walked the last few kilometers in the glorious afternoon sun.
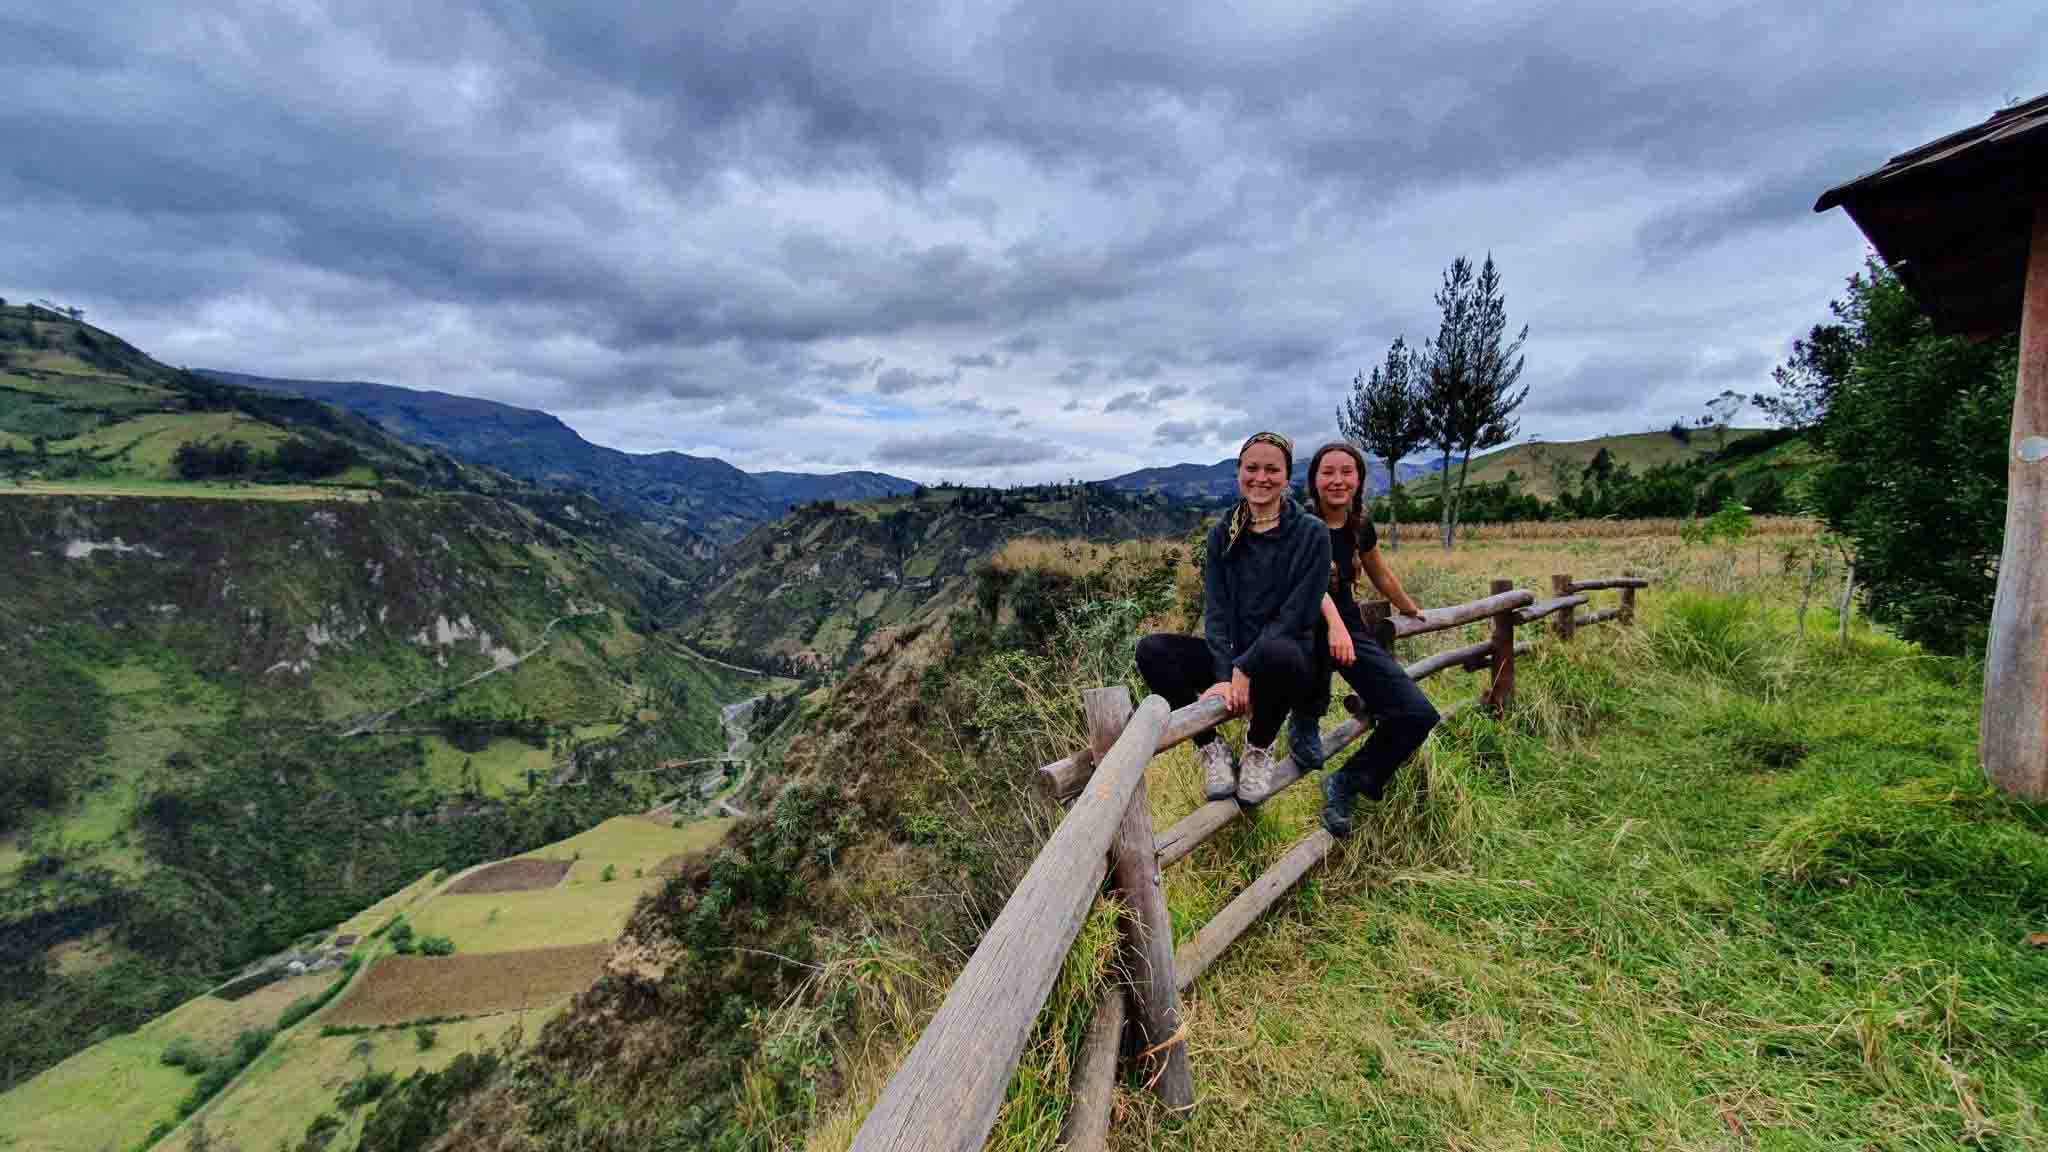
We stayed at Taita Cristobal Hostel, a very homey family-run business with an amazing view of the valley and comfortable beds. There’s only one more hostel in town, Llullu Llama Hostel, quite famous among the hikers, but it was closed for maintenance at the time we arrived, we weren’t sorry though. We were received with a delicious meal and told all about Isinlivi and the Quilotoa Loop by the owner. We also got our first map and advice about the local hikes.
Isinlivi is absolutely charming, full of llamas blocking your way and black pigs grunting at you from the cottages. There’s a beautiful viewpoint just 15 min walking from both hostels and one longer hike that climbs up a nearby hill. It takes around an hour both ways and you can go there to enjoy a stunning sunset.
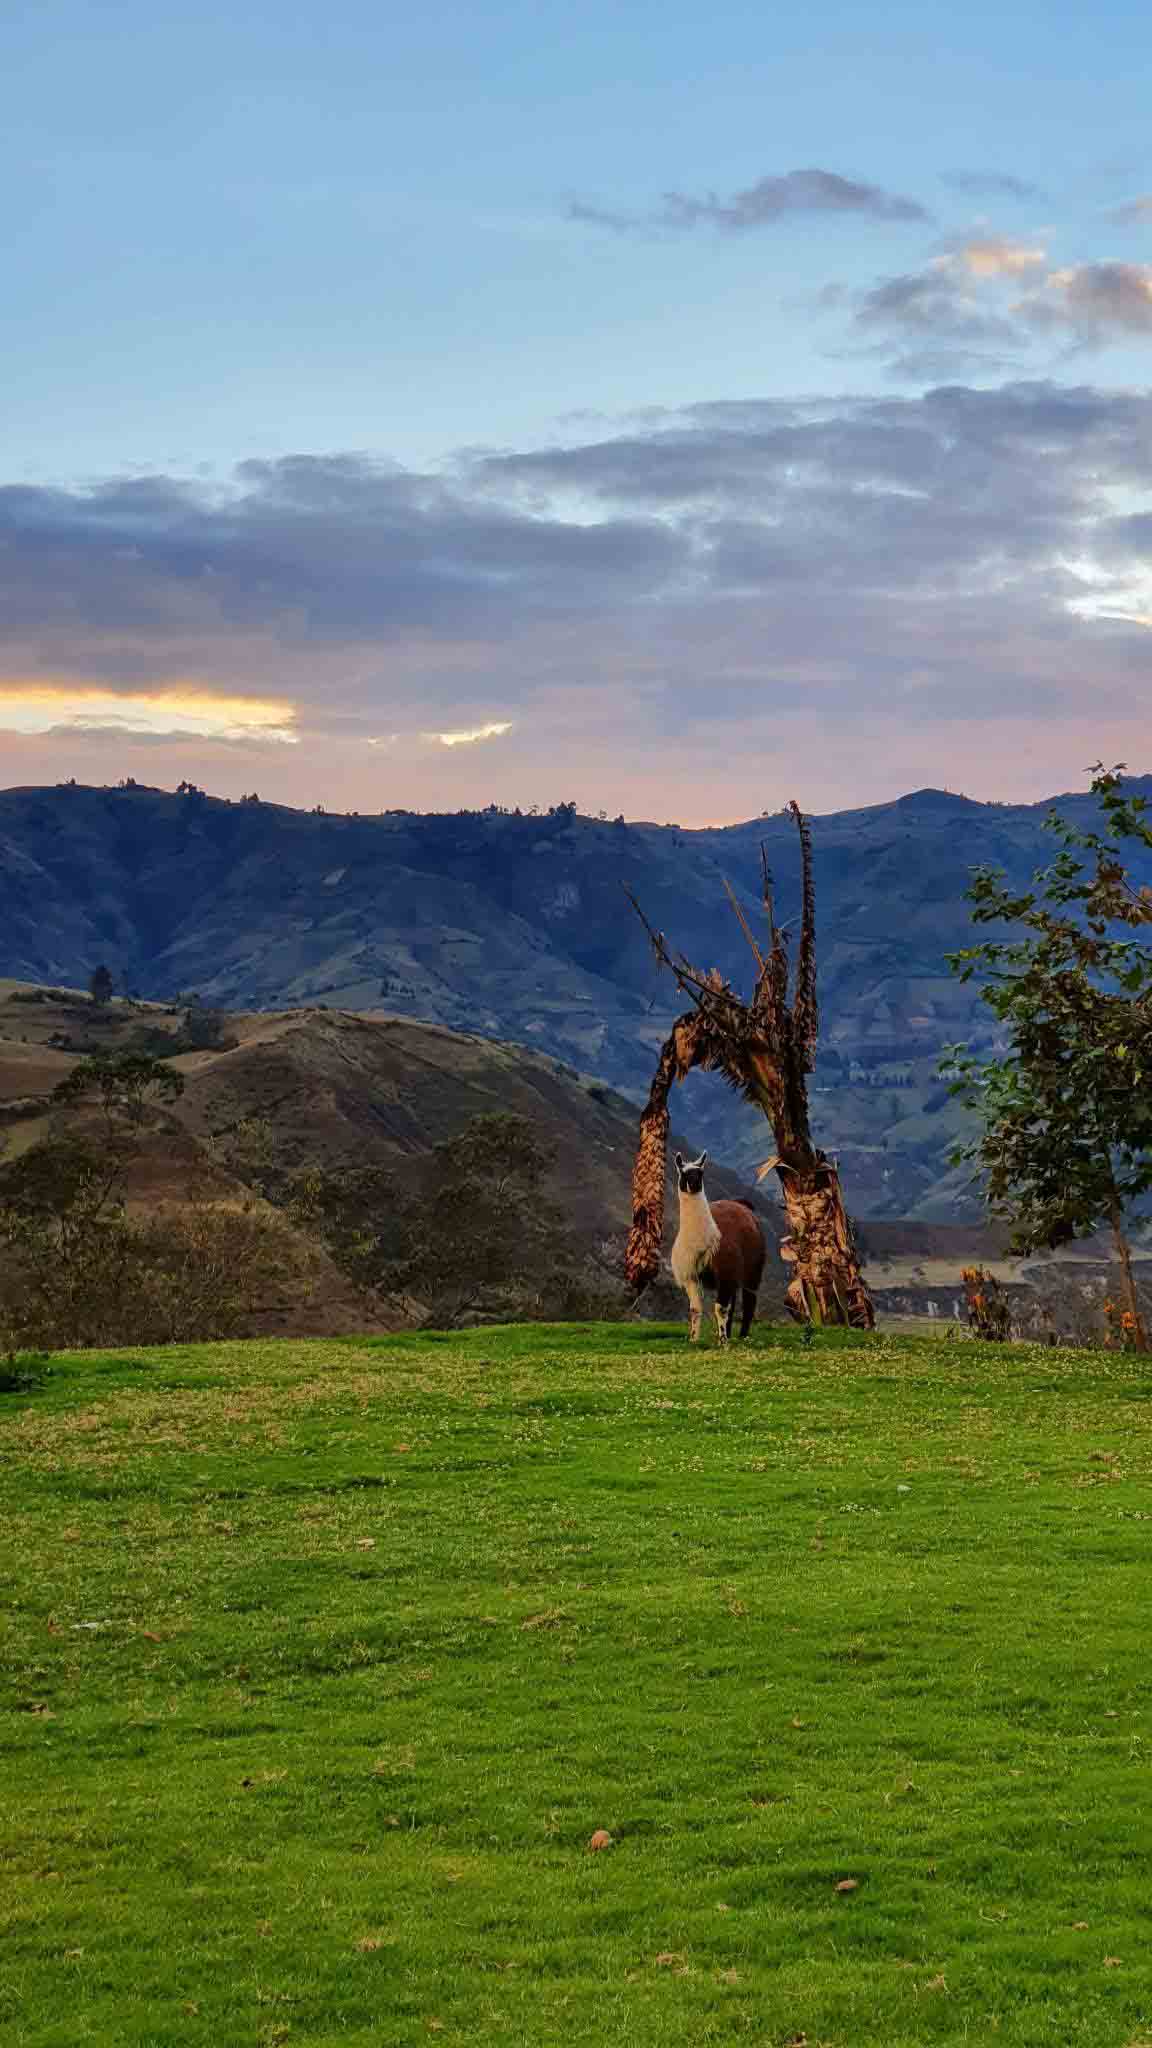
Isinlivi's viewpoint and a watchful llama (I swear she’s been observing me for hours)
The Second Day Isinlivi to Chugchilan
Breakfasts are usually served between 8 - 10 am but you can arrange for an earlier time as we did since we wanted to start the hike at 8. We overestimated ourselves. When we woke up at 6.30 and saw how rainy and cold it was outside we just ignored the alarm and eventually started hiking at 11 am. Don’t judge.
The road from Isinlivi to Chugchilan is pretty well marked, there were only a few moments when we got confused because there are so many local trails that can be mixed with the main one. We managed to get through this part of the hike quite smoothly though, because every time we were about to get lost, there was a sign or a local that pointed us the right way.
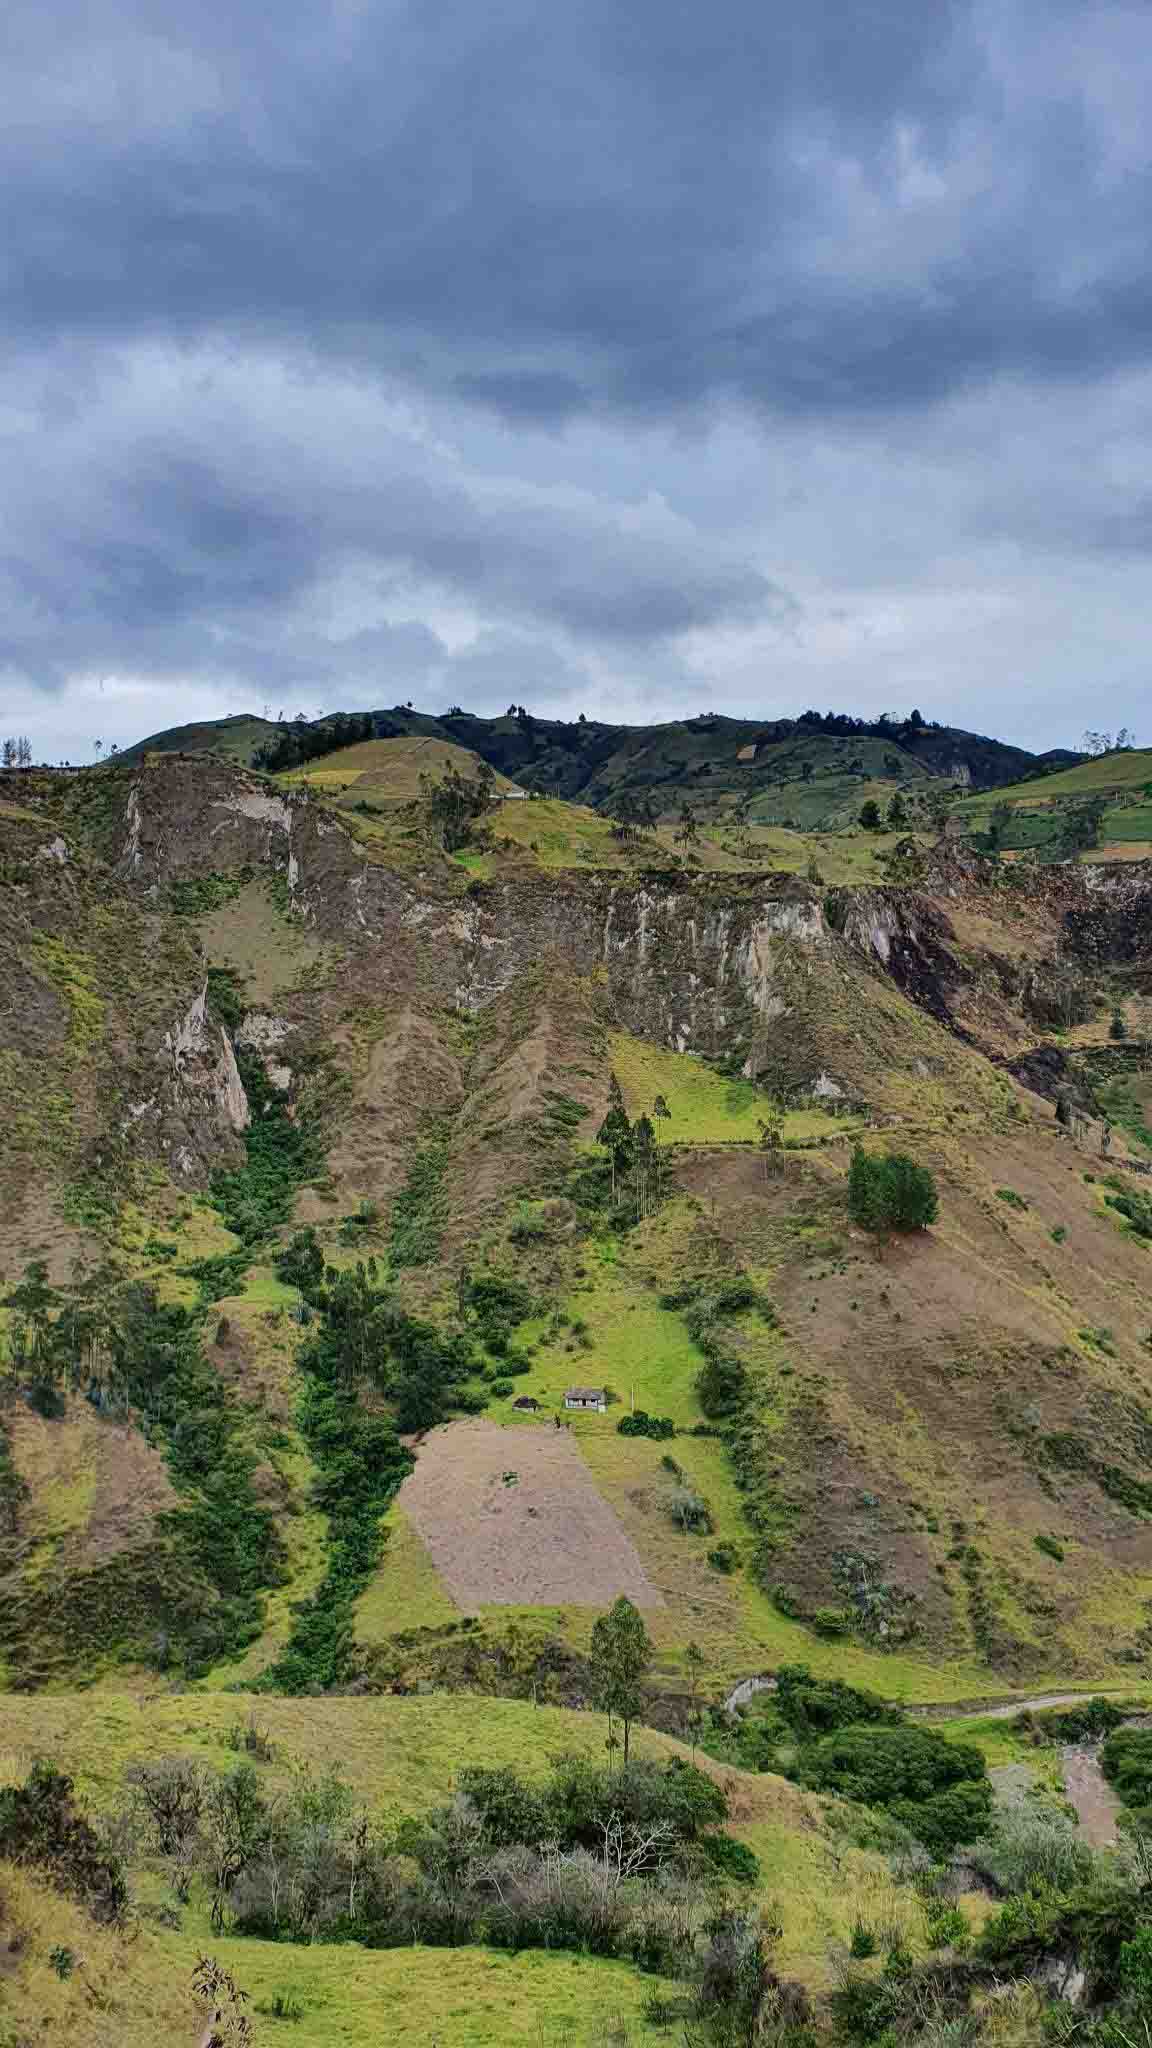
This part of the hike is scenic all the way and we stopped to soak in the view so often that it took us almost 8 hours to finish. There’s a very nice viewpoint called Mirador Chinalo where we had a chat with its owner and his family. They sell handmade souvenirs and I bought a little magnet painted by his 12-year-old daughter. They gave us homemade cheese with bread and a shot of VERY strong alcohol made with the bark of a quinine tree which they claimed to have saved the whole area from Covid. How could we say no to that?
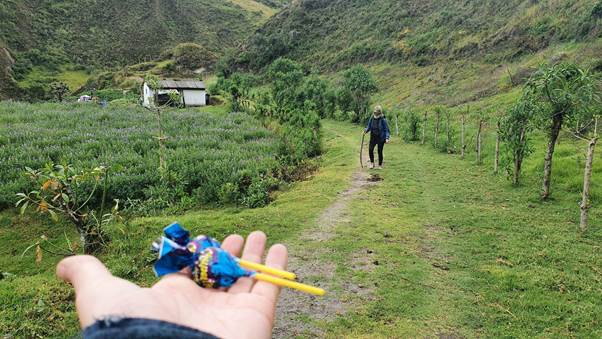
We had to go down the valley and cross the river twice that day. We also had our first encounter with some very unpleasant dogs and even my friend Isa, who’s extremely peaceful and at first refused to wave a stick at any animal, started to carry one afterward. Except for that we met some local children and shared our lollypops with them. They were thrilled and gave us some antibacterial gel in exchange.
We reached Chugchilan when it was already getting dark and we went to the only place that seemed to be open, Hostal Cloud Forest. There are more options to choose from in this town like The Black Sheep Inn or Hostal El Vaquero but we were very happy with our choice.
Cloud Forest was another family-run business and they made us feel like a part of the clan. We were fed a delicious meal (dessert included!) even though it was way past their normal dinner time. Since we were the only guests they gave us a private suite for the price of a dormitory plus they somehow got us a bottle of our favorite Mortiño wine. When we asked for recommendations in the area they called their neighbor and organized a horseback riding trip for us in the morning.
The Third Day Horseback riding
We started the next day with a big breakfast and jumped right on our horses. Isa is an experienced equestrian but I’ve only ridden a few times before. Our guide, an old-timer born in a saddle, assured me it won’t be a problem. It was, but we’ll get to that later.
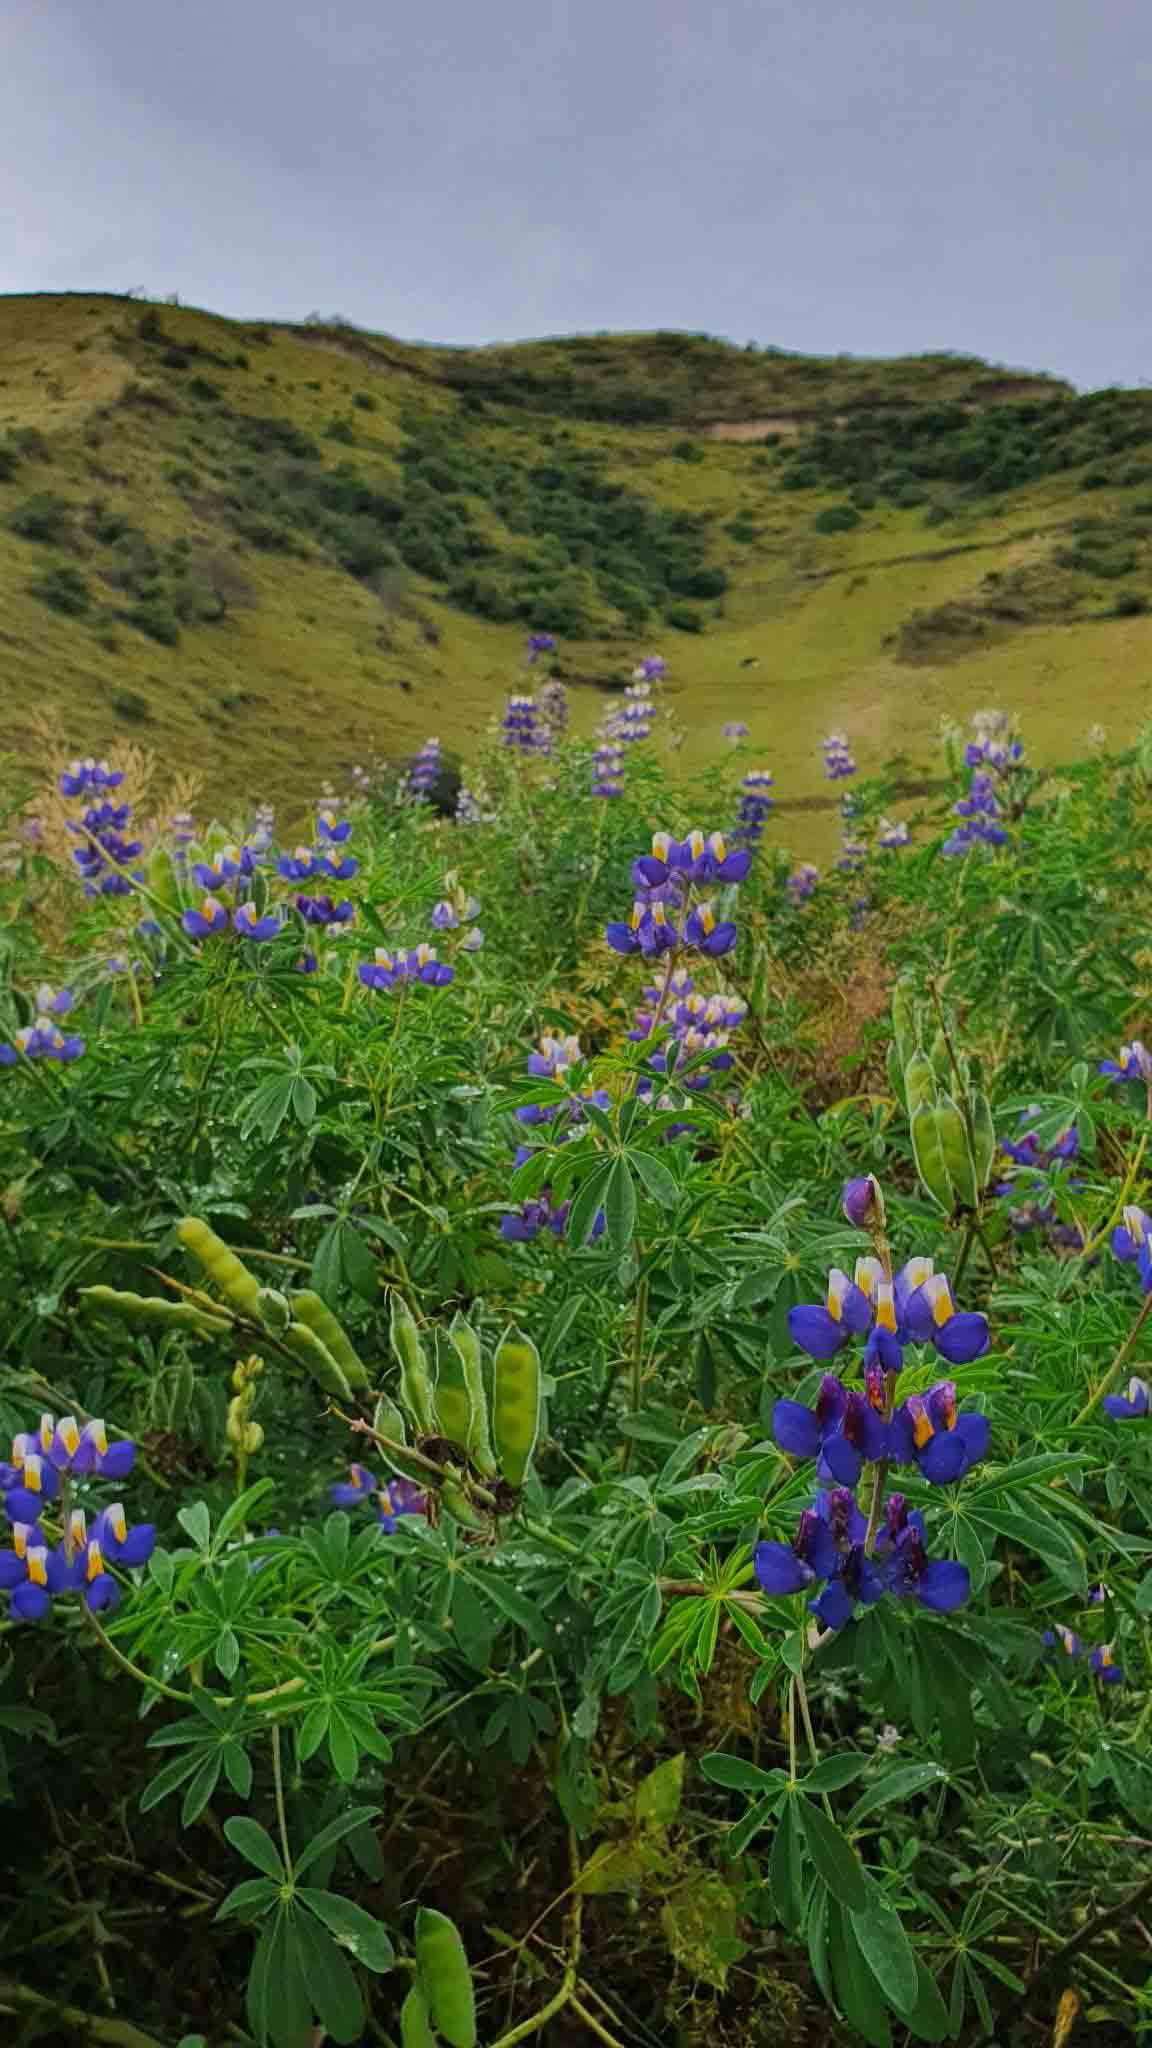
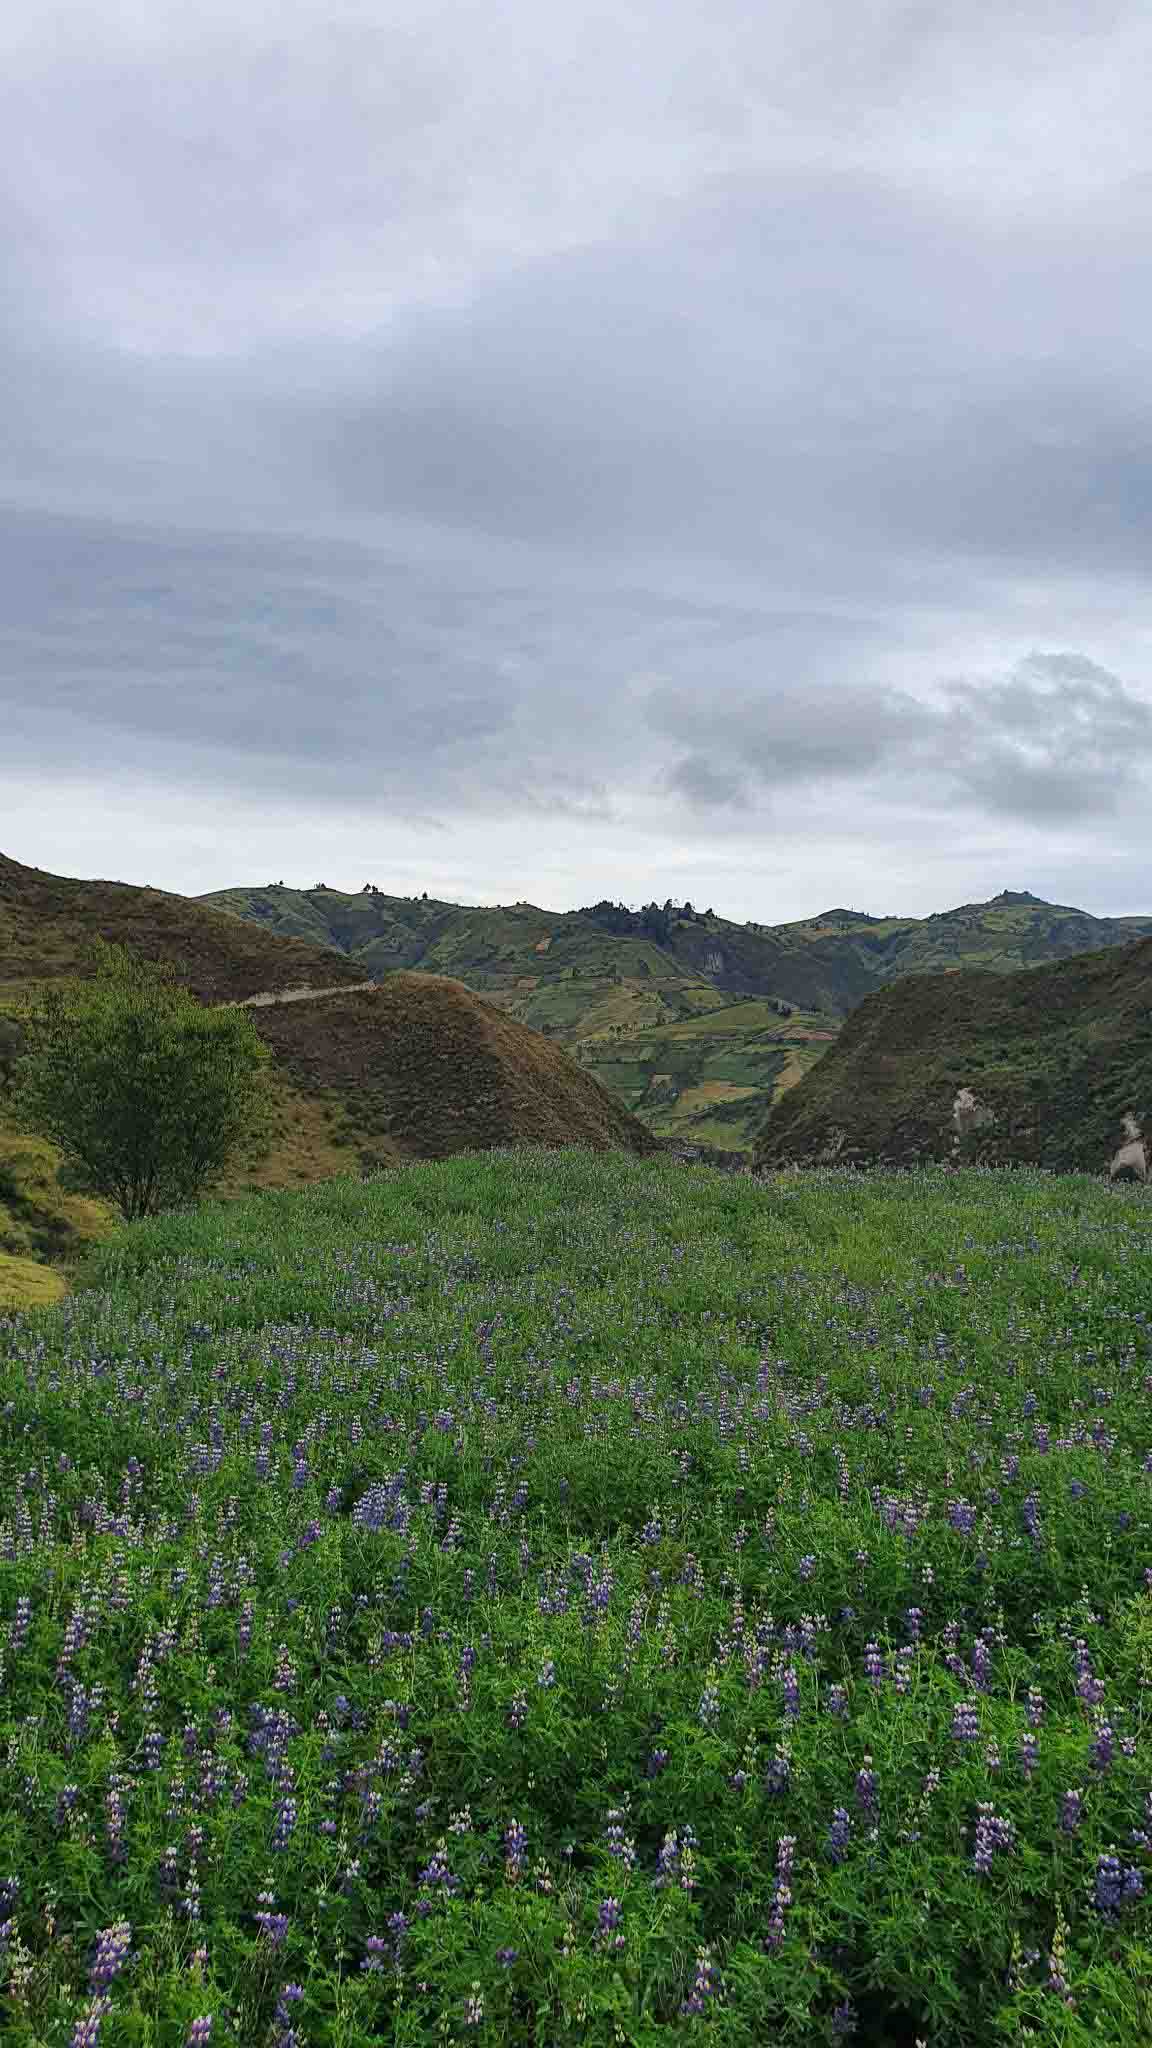
The rolling hills of chocho
First, we went to the local cheese factory. The road led through rolling fields of chocho, a type of grain with violet flowers that smell like heaven. The factory was very cozy and familiar. We saw the whole process of cheese making and bought some delicious fresh mozzarella.
Then our trail entered the outlandish Cloud Forest. Due to the high humidity, it’s always drowned in fog. Our guide knew all about this territory cause a big part of the forest is his grandfather’s property. He told us about the ongoing war with vicious pumas that cost his grandma an arm and about clumsy Andean bears that break the tree branches while trying to reach their favorite snack, avocado.

Up until there, I managed to control my horse (more or less) but it was a young stud named Lightning and all he wanted to do was gallop. When he started the only thing that could stop him was our guide taking hold of the reigns, but he couldn’t always keep up, cause the Lightning really lived up to his name. After my third heart attack, we had a brilliant idea to switch the horses with Isa and that’s how I ended up with Pidgeon. She was much more peaceful but had some innate hatred for riding on the road. Instead, she preferred a very narrow strip of grass on the side of it, which meant I was either hanging at the edge of a cliff or being constantly hit in the face by the tree branches. I just accepted it. Isa almost fell off the horse laughing.
The last stage of our route was a vast meadow at the top of the hill where our horses went crazy and galloped in circles apparently playing chase. At that moment my butt was already long gone so I just enjoyed the wind in my hair and the beauty of it all. We came back home happy, tired, and (in my case) unable to walk. That night they served us a guinea pig (tasty!). We took it with another bottle of wine.

The Fourth Day Lost in the Andes
As hard as it was to think about an 8h hike with my new cowboy legs, we actually managed to wake up early and start around 9 am. Before we left the hostel we got a new hand-drawn map, a bunch of advice about the route, and a shot of the magical quinine mixture. The owner told us that we will get to a fork where we can choose between the “extreme” and the “regular” path. He told us NOT TO choose the extreme one because there’s a part that’s probably unpassable after the pandemic since it hadn’t had any maintenance in a while.
When we got to the fork we barely looked at each other and simultaneously turned in the “extreme” direction. It was just too tempting not to check. The road went winding all the way down to a creek with the remains of a bridge. We took off our shoes and crossed it laughing and thinking that this was the “unpassable” part.
We got to a meadow with a cow grazing on the other side of it. There were no signs whatsoever as to where to go next so we started wandering around the pasture chaotically. Then we noticed that the cow came closer and was visibly irritated. I looked at it surprised and I couldn’t help but notice that… It wasn’t a cow. It was a huge black bull glaring at us furiously and stomping on the ground in a very suggestive manner. I stopped short and looked at it hypnotized while Isa calmly crossed the meadow and got away from the bull’s range waving at me to do the same. I couldn’t. I was having a major starring contest with the bull and didn’t really remember how to use my feet. Fortunately, the bull got distracted with some distant mooing and the spell was broken for long enough to bring me back to my senses.

We run far away from the unlucky pasture and since we couldn’t find any sign of where to go next we climbed up again to the very same fork. This time we chose the “regular” path, defeated and angry after losing 2 hours like idiots. Later we found out that we should’ve never gotten to the meadow. The “extreme” road turns before that but the signs disappeared during the pandemic.
After this the road was fairly well marked for a while, we also crossed through two small villages where we made sure we were going the right way but then… we got lost again. I don’t even know how, I think at some point we followed a path made by cows instead of the trail and we found ourselves in the middle of a very foggy mountain. We scrambled to the bottom, crossed a river in some place that definitely wasn’t our trail, and then climbed back up on the other side, quite confused and tired. We sat down to take some rest and then out of nowhere we heard a man’s voice screaming something from the bottom of the hill we’d just climbed. We looked over the precipice and then we heard a woman’s voice answering him from somewhere just above our heads!

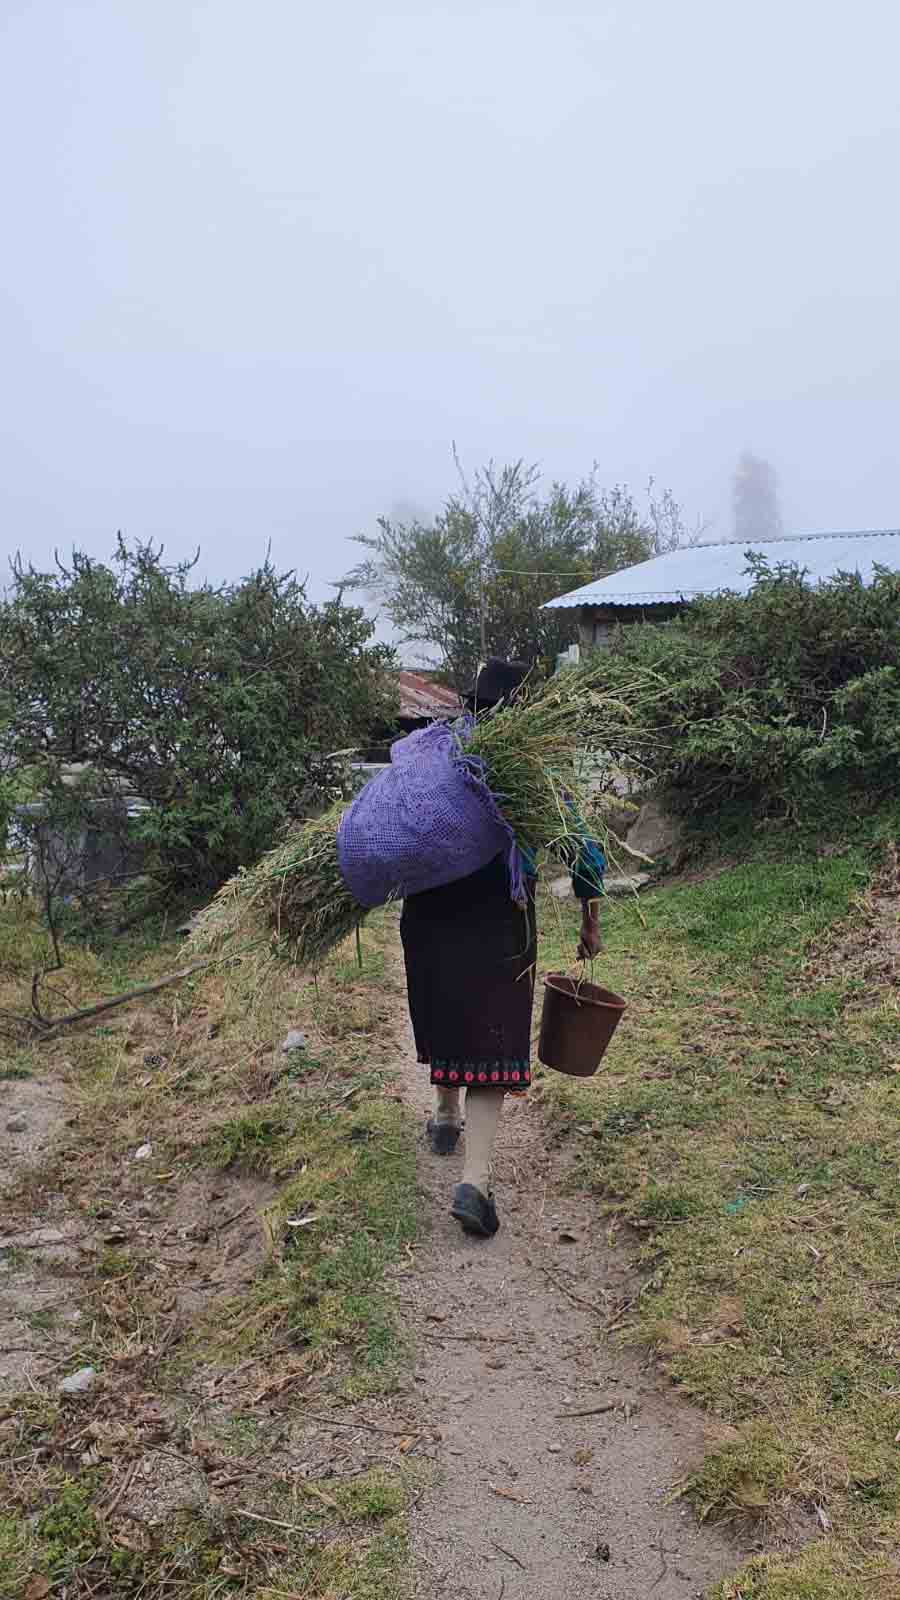
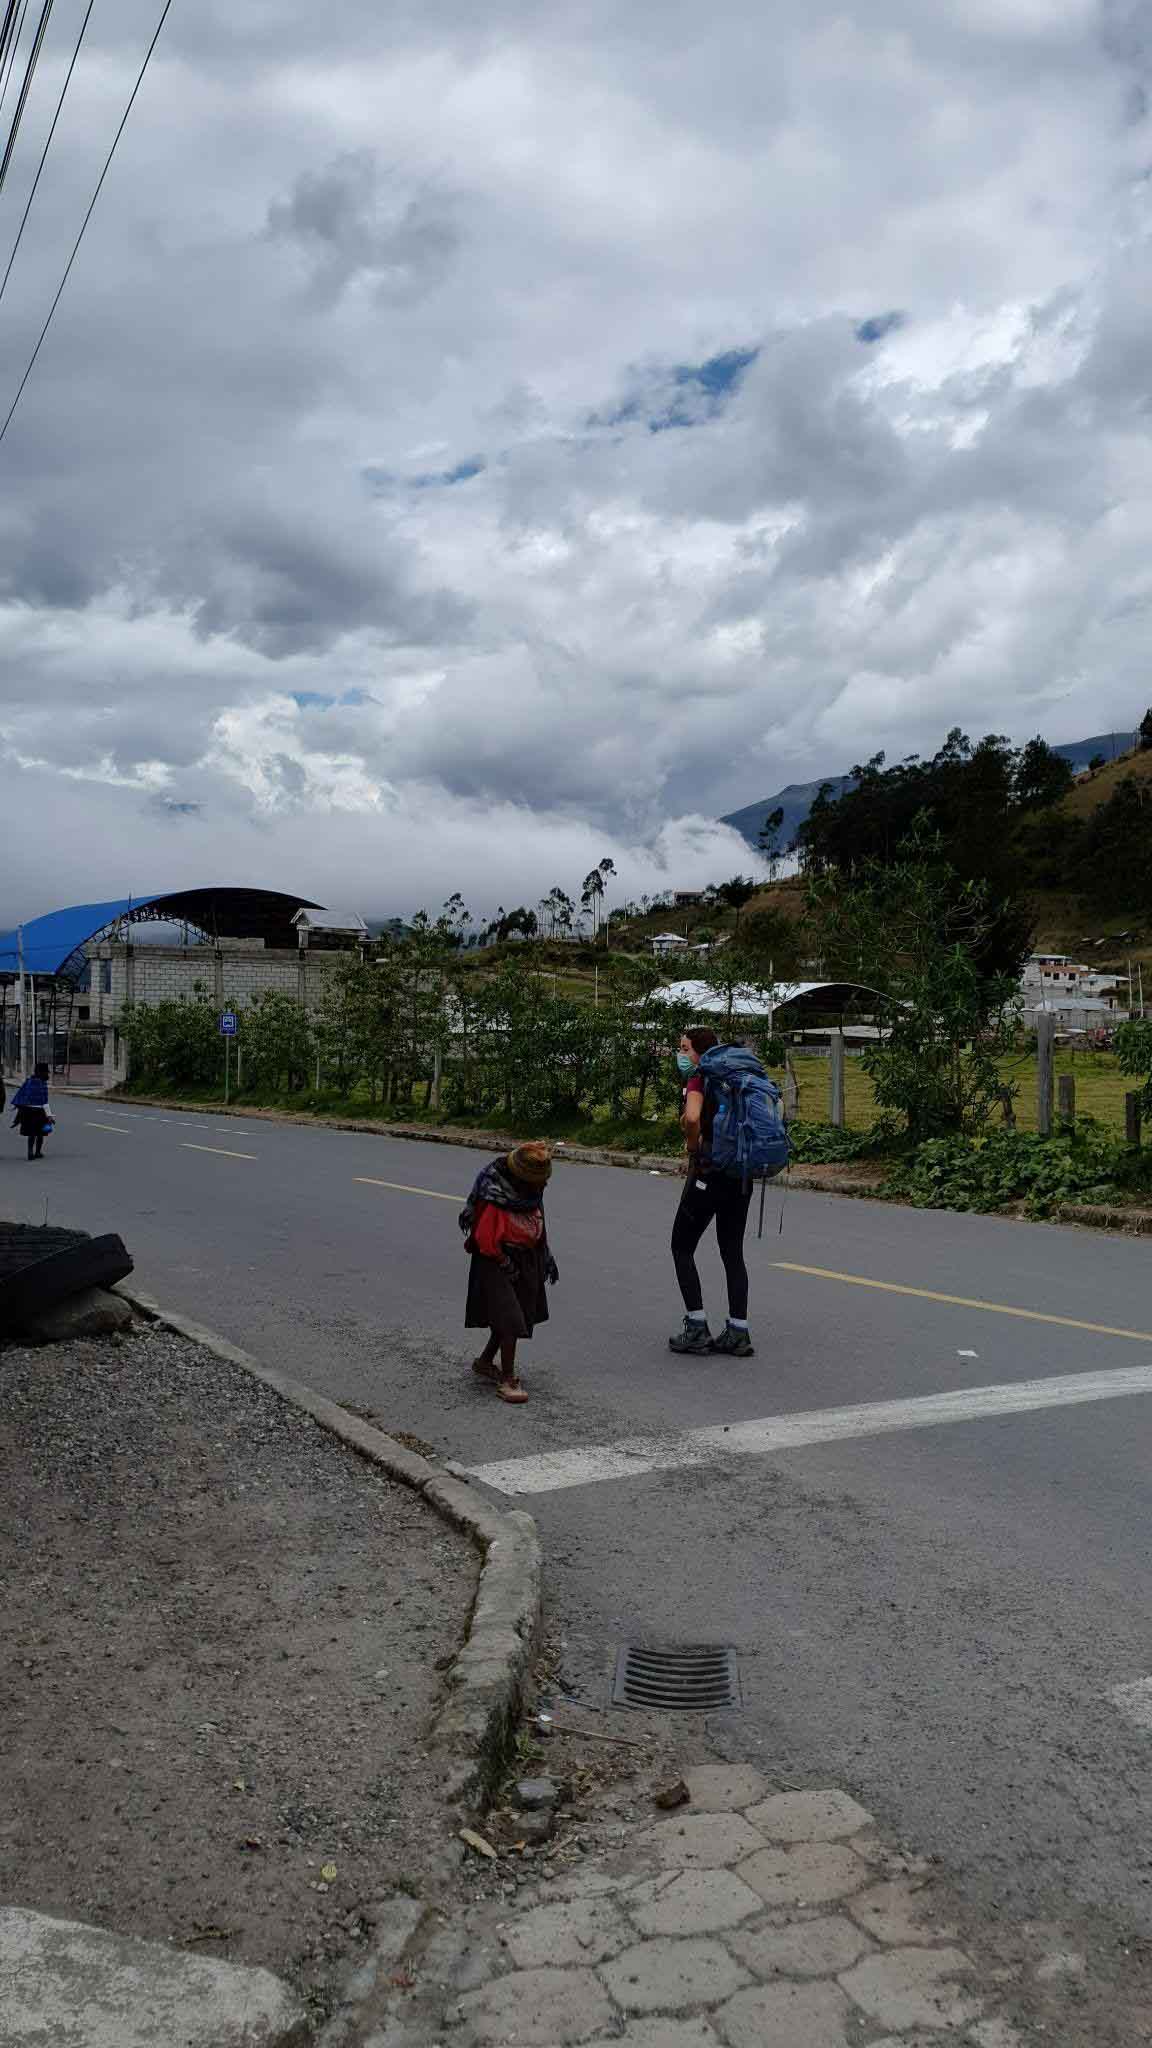
We followed the voice and found a little old lady briskly carrying something that looked like 7 tons of corn uphill. I asked her about the Quilotoa trail in Spanish and to our relief, she showed us to follow her. We did so with some difficulties cause she was quick as a goat even though her cargo looked heavier than our backpacks. She guided us to a paved road and explained we couldn’t go to the lake now. It’d get dark before we could reach it, but there was a hostel down that road where we could spend the night.
We thanked her a hundred times and walked for another 40 minutes till we reached Hostal Rosita. They were closed but they took us in anyway, gave us a room and some food. We were so exhausted with all the confusion, emotions, and beauty of that day that we passed out at 7 pm.
The Fifth Day Quilotoa crater lake
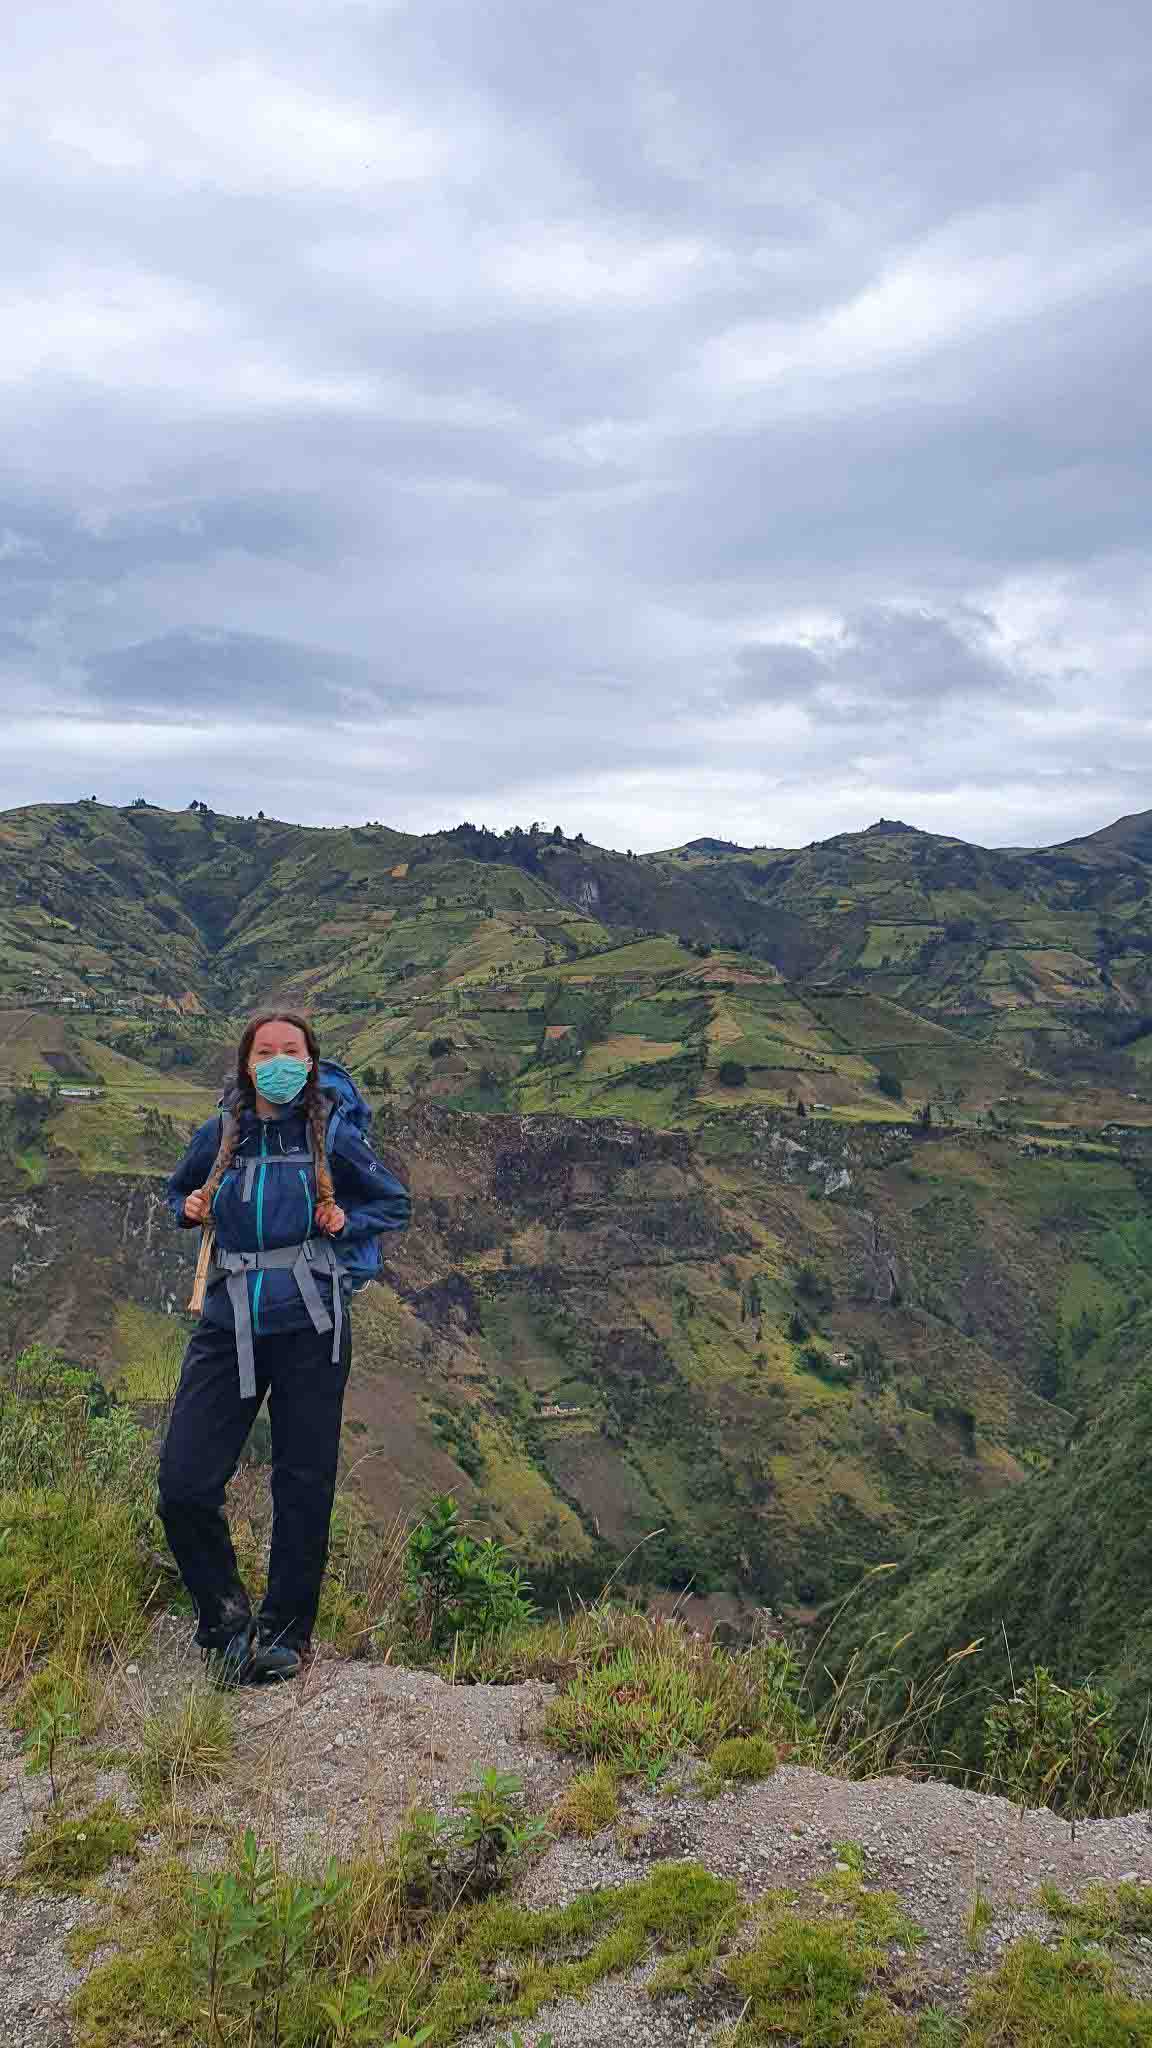
The next day we asked for precise instructions on how to get to the Quilotoa lake. We were very determined not to get lost this time, but it turned out that the road was pretty straightforward from there. We were at the bottom of the crater and all we had to do was to climb up along a zigzag trail. For me, it was less demanding than the constant ups and downs of the previous day but Isa started to get dizzy with all the altitude change so we took advantage of the beautiful weather and rested often enjoying the breathtaking views.
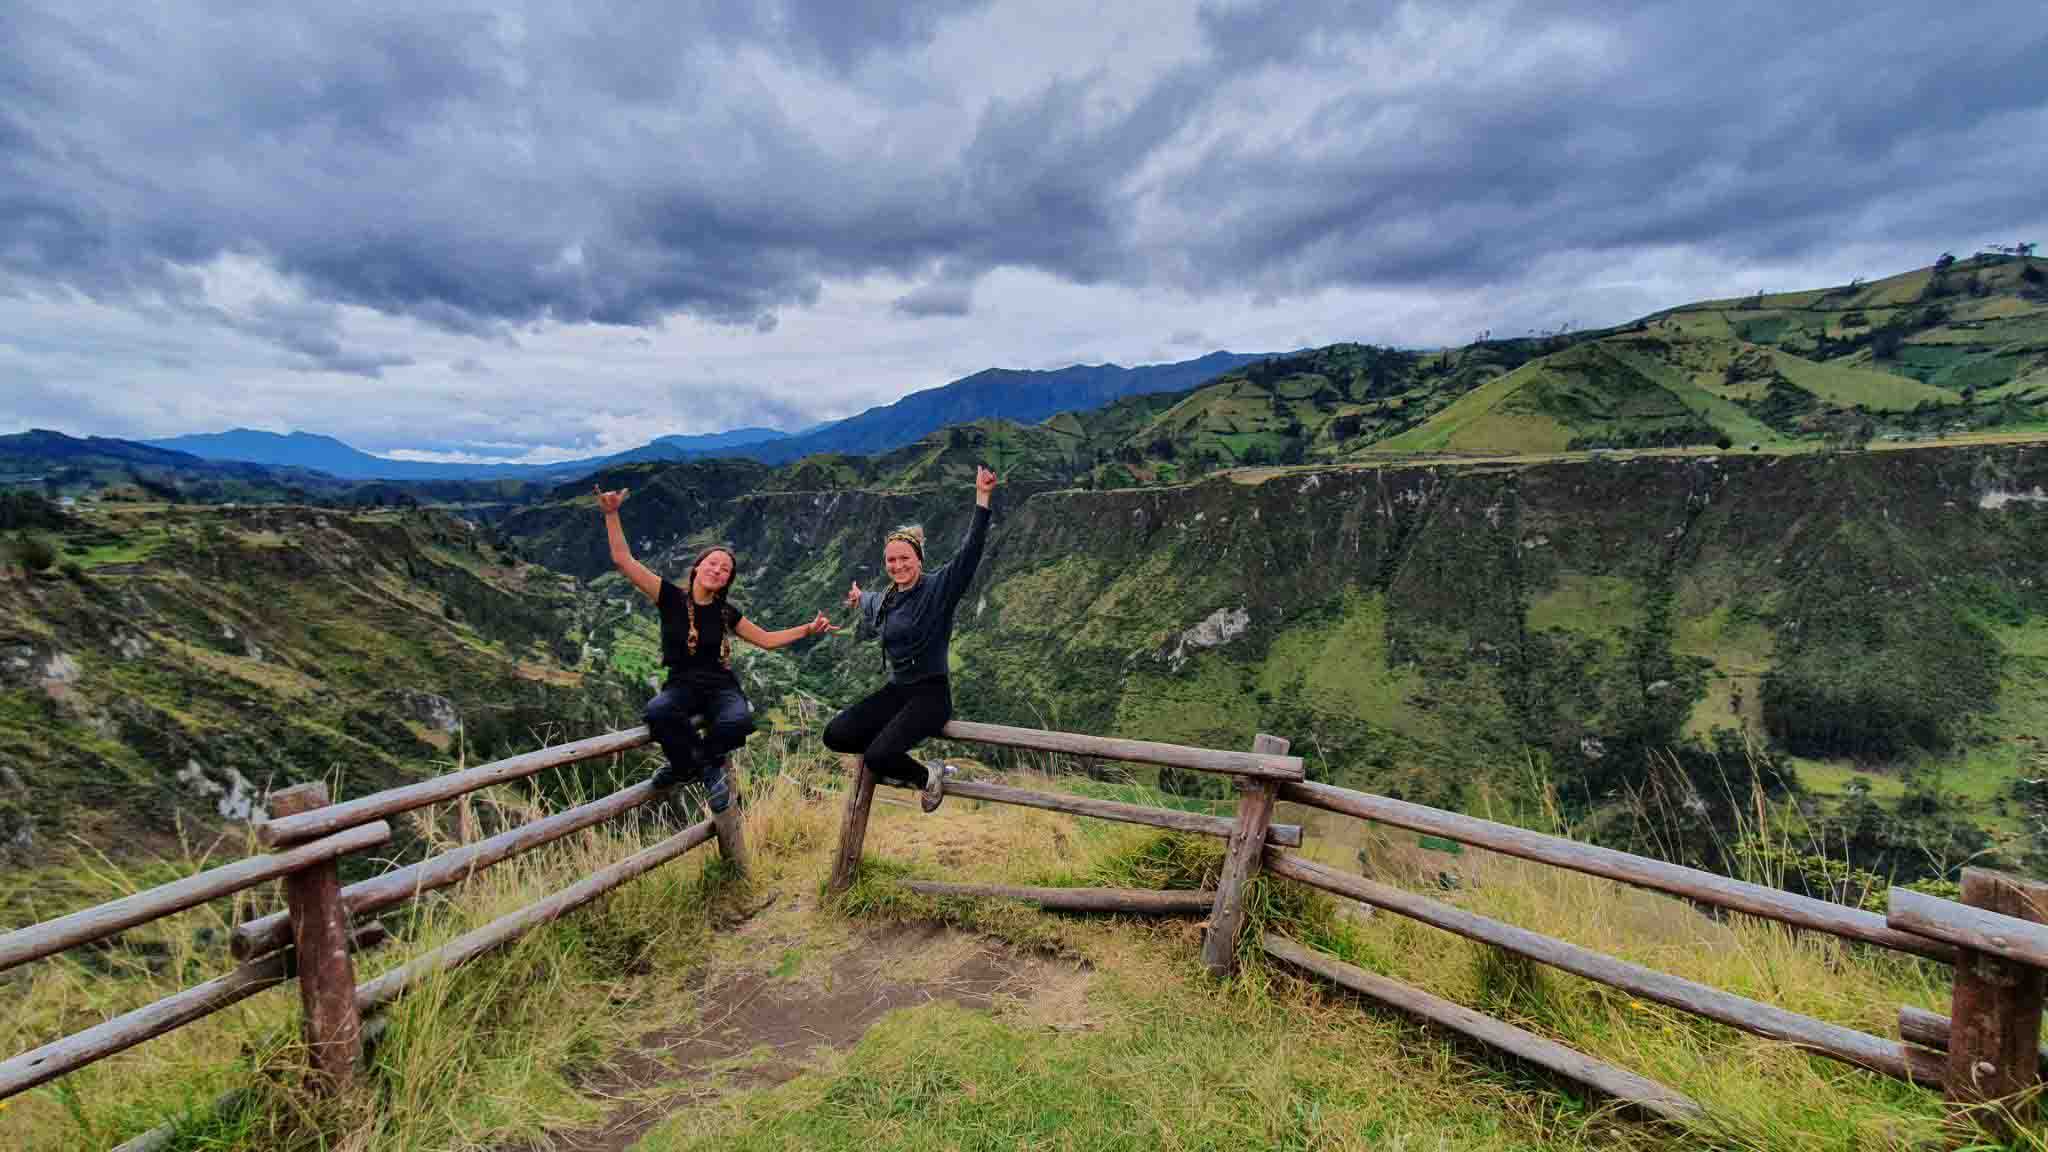
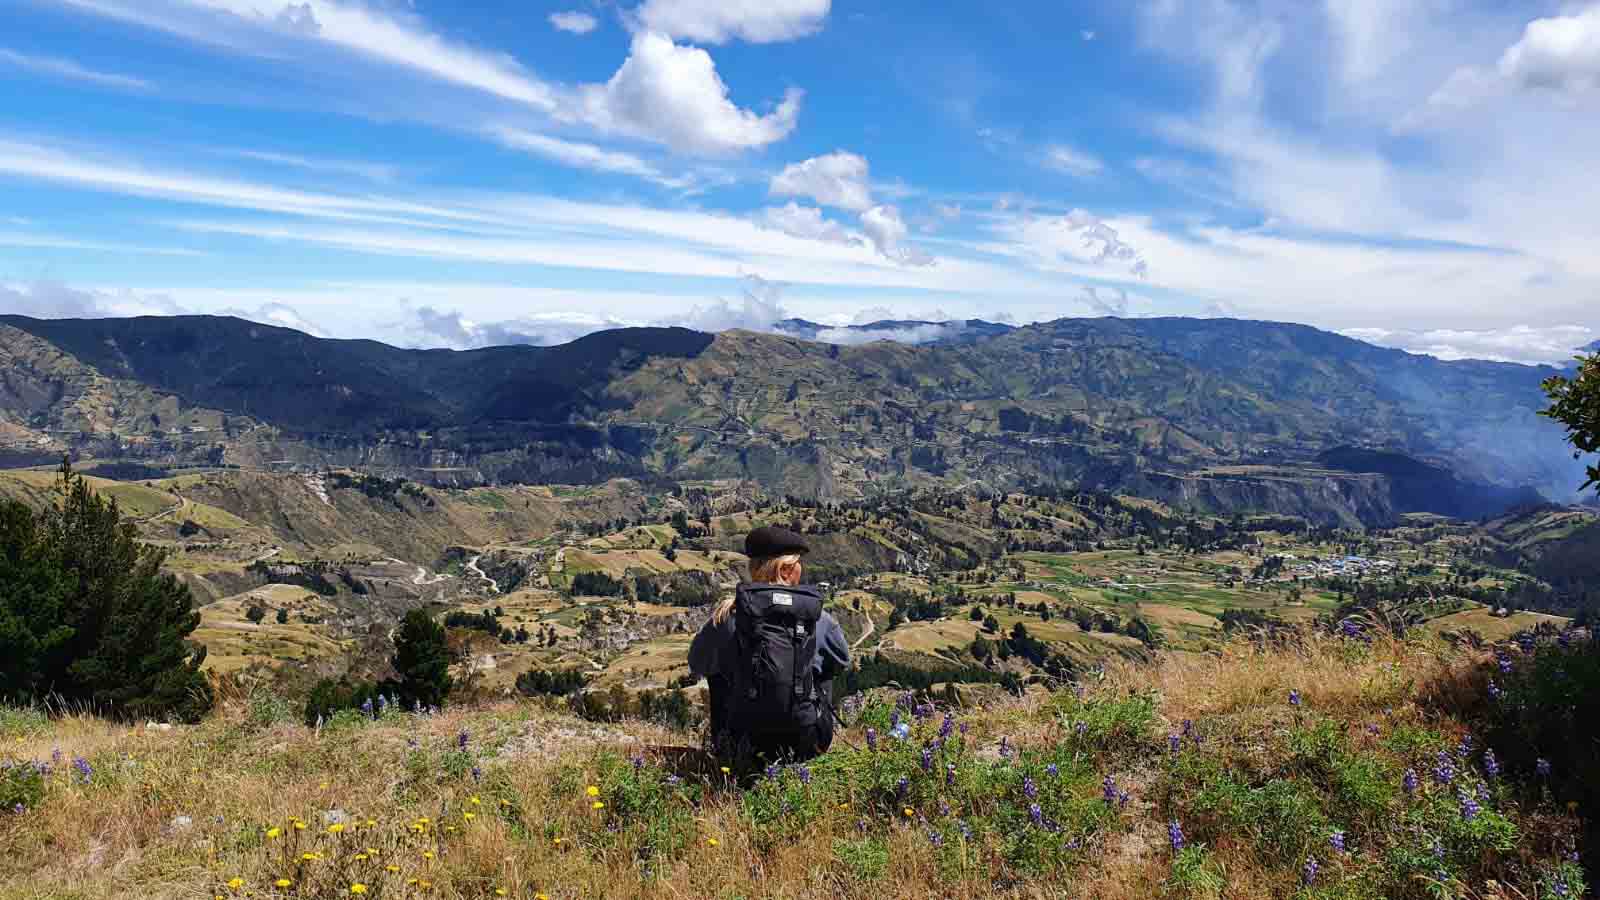
But what really took our breath away was the moment we suddenly crossed the rim. The Quilotoa lake just jumped at us unexpectedly with all its emerald glory below us. For some time we just stood speechless. Then for an even longer time, we were glued to our cameras.
When we were done we followed the path along the crater and the environment suddenly changed. Now we were crossing through sandy dunes and pine tree forests. The Quilotoa lake was emerging from different perspectives all the time and each time it looked more beautiful than the last. It took us around 3 hours to get to Quilotoa village, where we found a nice cafeteria and tried to wrap our heads around the whole experience. Before jumping into the bus we bought traditional masks from Zumbahua, feeling ashamed about skipping it.
I don’t know if it was the altitude changes or the experience overload but on our way back to Latacunga my head was exploding. The things we learned and saw, the people we met, the stories we heard, the food we tried, and all the times we got lost… All this amounted to be one of the best experiences in my hiking book. I hope you’ll give it a try and make it yours too!

Agata Szymula
Travel Writer
Credentials
- ✓ Voyagers Travel Contributor
- ✓ Master's Degree in Latin American Studies